
Installation Guide


B
4
Before beginning assembly of product, make sure all parts are present. Compare parts with package
contents list and hardware contents list. If any part is missing or damaged, do not attempt to assemble
the product.
Estimated Assembly Time: 15 minutes
Tools Required for Assembly (not included): Phillips Screwdriver, Flathead Screwdriver, Safety
Glasses.
Helpful Tools (not included): Stepladder
PREPARATION
CAUTION
SAFETY INFORMATION
ASSEMBLY INSTRUCTIONS
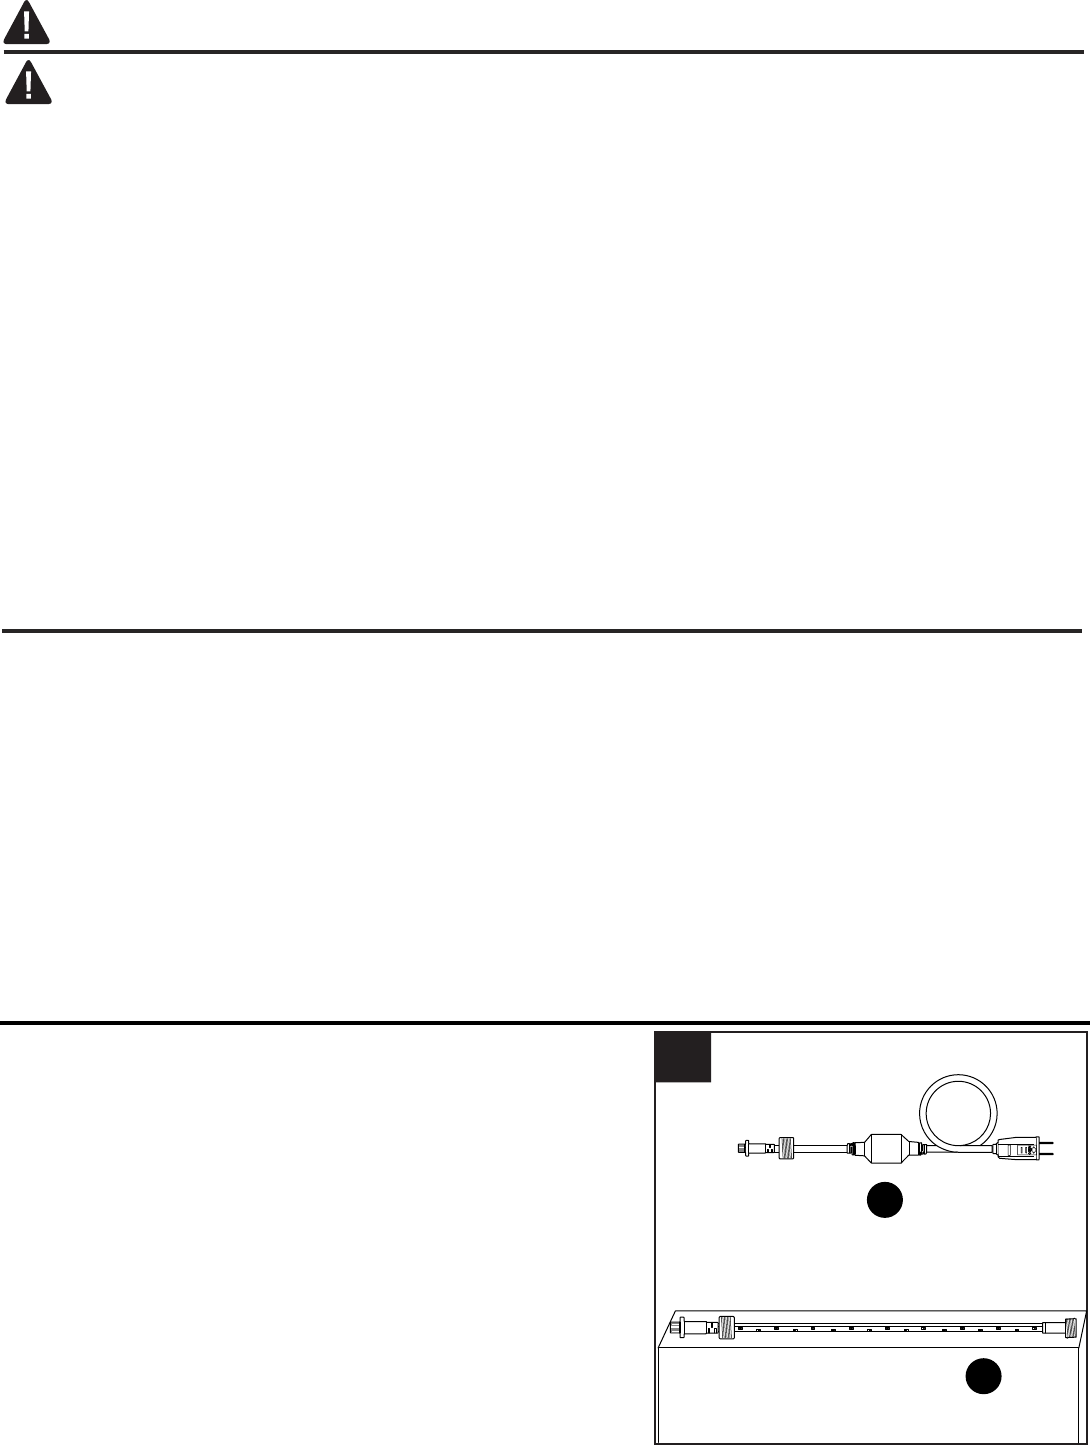
1.
Carefully remove all parts from the packaging.
Uncoil the rope light (A).
• DO NOT USE THIS FIXTURE WITH A DIMMING CIRCUIT. If you presently have dimmer controls,
you will need to remove them and replace them with regular electrical switches. If you have a
three-way dimmer, you will have to replace it with a regular three-way switch. If you are unfamiliar
with electrical installations, it is recommended you have a qualified electrician install your fixture.
• As a safety precaution, unplug power cord when not in use.
• DO NOT close doors and/or windows on the fixture or power cord as doing so may damage the
insulation wire(s).
• Do NOT tamper with or attempt to repair LED component of fixture. The light source is designed for
this specific application and should not be serviced by untrained personnel. If any servicing is
required, call our customer service department.
• Total wattage for this fixture is 38.4 watts; do not attempt to replace the LEDs. Do not overload.
Connect end-to-end a maximum of six (6) rope lights.
• This fixture should be used for decorative purposes only.
• To replace power cord, contact customer service or manufacturer.
• Replace fuse only with 3-amp, 125-volt fuse.
1
A