
emission condenser Peltronic Manual


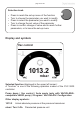

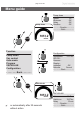

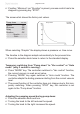
Table Of Contents
- Part I
- Reset / Language selection
- Safety information!
- Technical data
- Use and operation
- Installing a pump in a vacuum system
- Notes regarding the (dry) ice condenser
- Notes concerning the operation of the inlet condenser IK
- Notes concerning the operation of the Peltronic emission condenser
- Notes concerning the operation of pumping units with silencer
- During operation
- Important notes regarding the use of gas ballast
- Important notes concerning the operation of the exhaust waste vapor condenser
- Shutdown & storage
- CVC 3000 Vacuum controller
- Menu guide
- Pump down function
- Vac Control function
- Auto mode
- Program function
- VACUULAN function
- Application examples
- Configuration
- Part II
- Readjustment of CVC 3000
- Calibration in the factory
- Cleaning the pressure transducer
- Interface parameters
- Accessories
- Troubleshooting
- Replacing diaphragms and valves
- Cleaning and inspecting the pump heads
- Disassembling the housing cover at the side of the emission condenser
- Replacing the diaphragm
- Assembling the housing cover at the side of the emission condenser
- Disassembling the housing cover at the side of the ON/OFF switch
- Assembling the housing cover at the side of the ON/OFF switch
- Assembling the fittings
- Cleaning and replacing components
- Notes on return to the factory
- Warranty
- Health and safety clearance form
- EC Declaration of Conformity of the Machinery
page 52 of 120
CVC 3000 Vacuum controller
When switching on the CVC 3000 controller for the very rst time, a menu
to select the language of the controller menu is displayed. Select the de-
sired language, e.g., ”English” by turning the selection knob and pressing
to conrm. Then select the pressure unit (”mbar”, ”Torr” or ”hPa”) in the
same way.
It is possible to access the language selection menu at any time
by switching on the controller while keeping the selection knob
pressed.
After switching on the device, the version number of the software is
displayed, followed by the preselected function and the pressure reading.
Attention: Do not assemble or remove plug connections off-axis!
Orient the plug correctly before inserting. To connect additional
components use VACUU•BUS Y-adapters and extension cables. If
an external pressure transducer is connected, it is recognized auto-
matically. Further information on how to use several sensors simul-
taneously is available upon request.
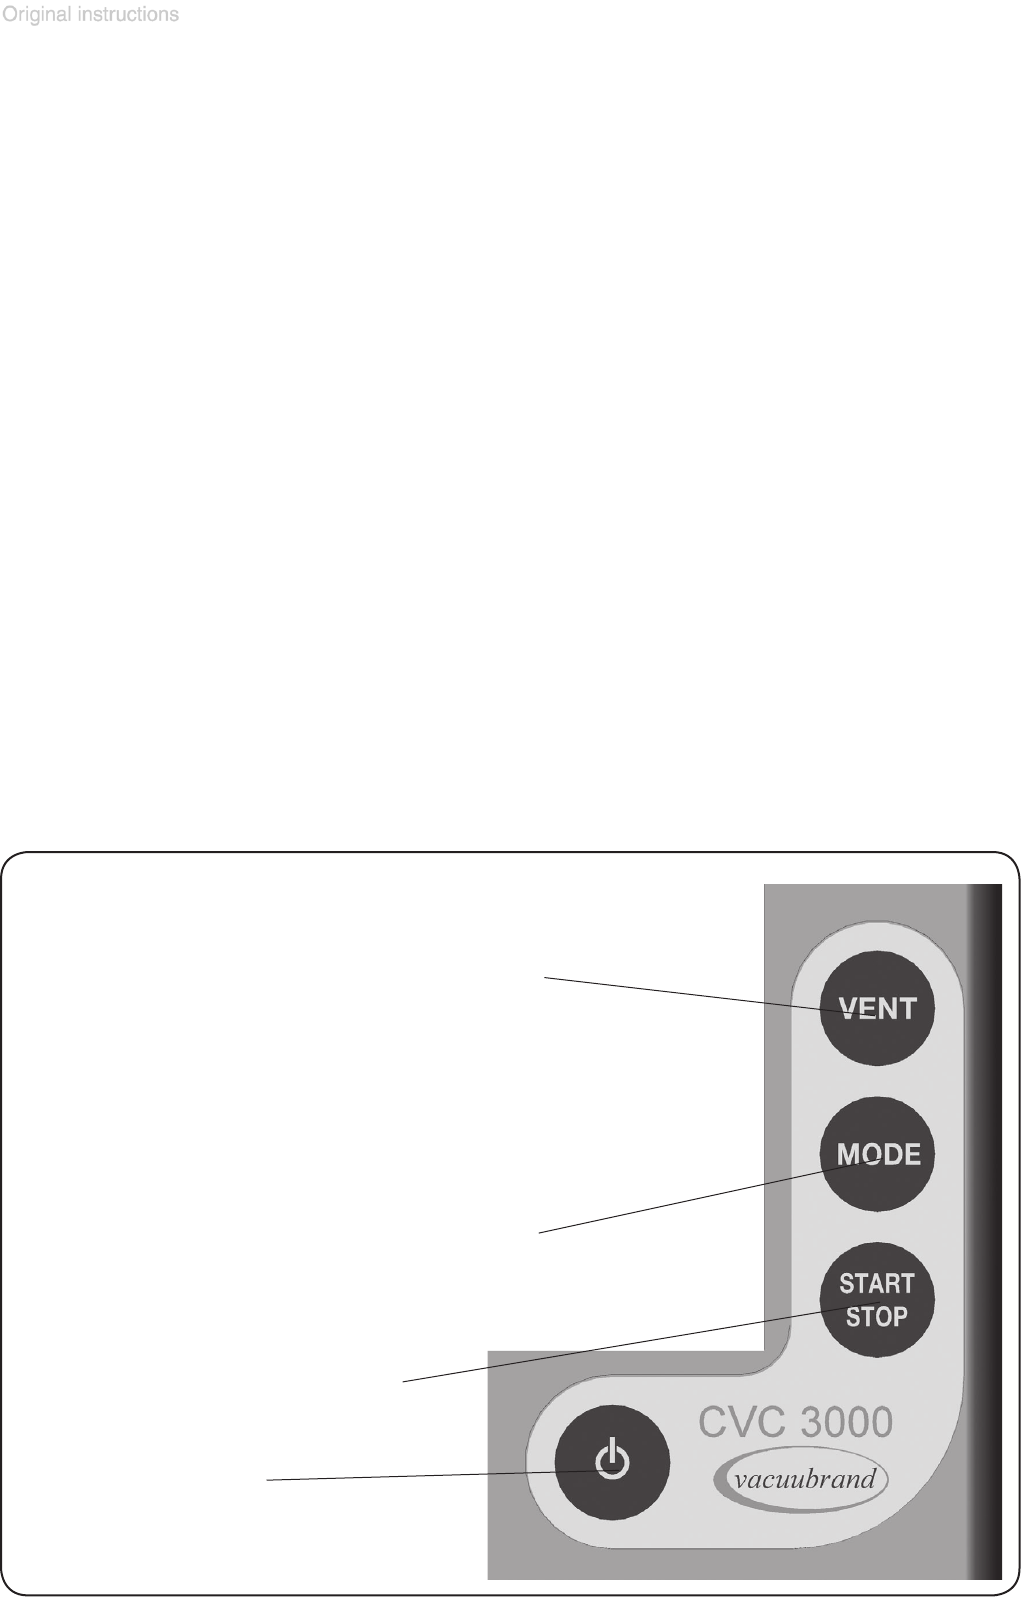
Keys
Start or Stop the process
VENT:
• A short tap vents momentarily;
process continues.
• Pressing longer than 2 seconds vents the
system to atmospheric pressure (to 788 Torr
(1050 mbar) at maximum); process stops.
MODE:
• Selects menu ”function”
• Use for temporary switching during
operation to other functions
ON/OFF switch