
User manual
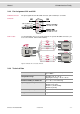
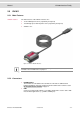
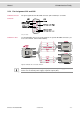
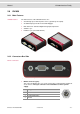
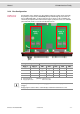
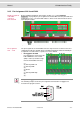
Table Of Contents
Manual VN1600 Interface Family
© Vector Informatik GmbH Version 2.0 - 16 -
> D-SUB9 (CH1/3 and CH2/4)
The VN1630 has two D-SUB9 connectors, each with up to two channels
(CAN/CAN or LIN/CAN). Further information on the pin assignment for CH1/CH3
and CH2/CH4 can be found in section Pin Assignment CH1/3 and CH2/4 on page
18.
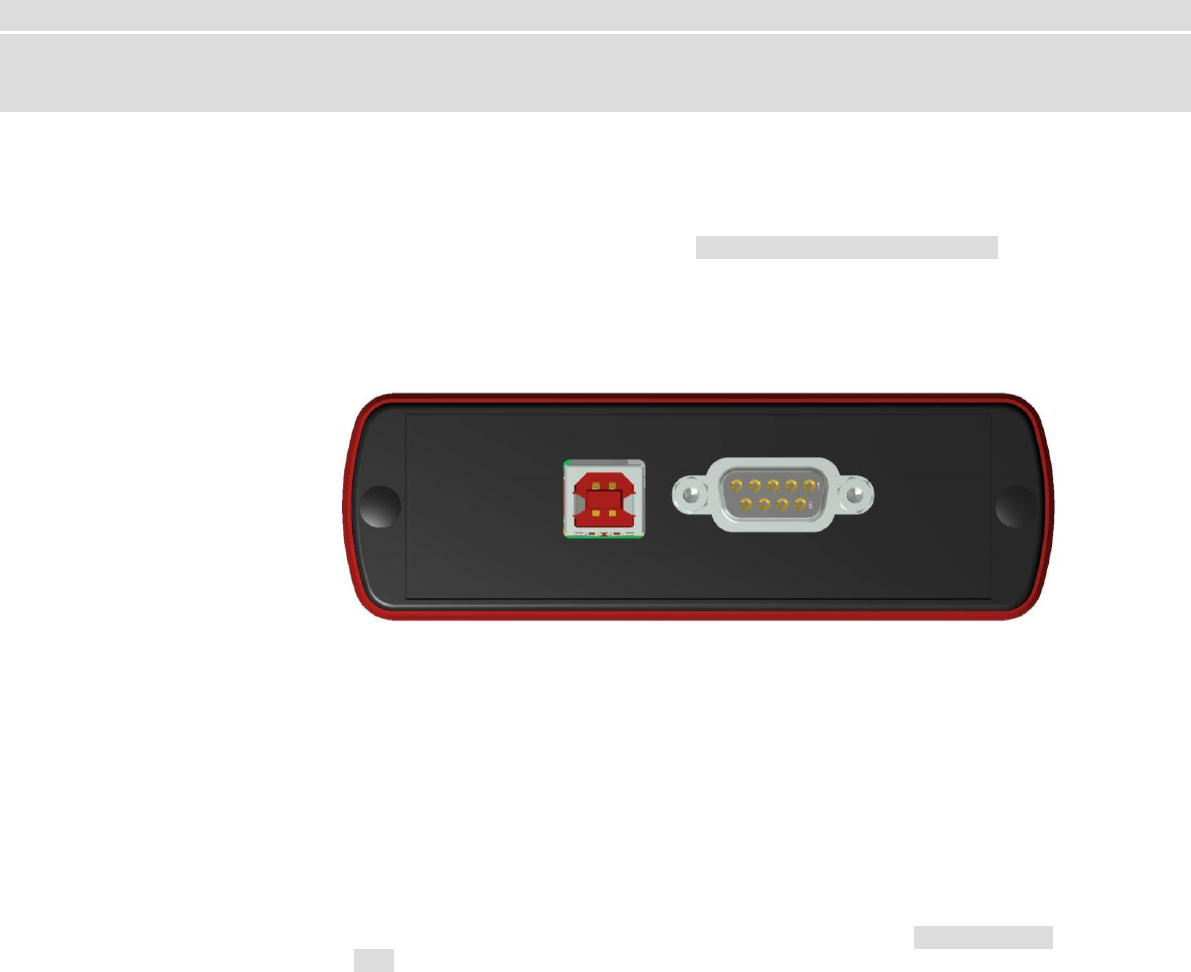
2.6.3 Connectors USB Side
Device connectors
Figure 9: VN1630 with 1x USB and 1x D-SUB9.
> USB
Connect your PC and the VN1630 over USB to install and to use the device with
measurement applications (CANoe, CANalyzer). Use the USB2.0 compliant cable
found in the delivery (USB extension cables may generate faults between the PC
and the device). Connect the device directly to USB at your PC or use a USB hub
with its own power supply (self-powered). Depending on the used Piggyback, the
VN1630 requires the entire USB current (500 mA) which cannot be provided by a
bus-powered USB hub.
> D-SUB9 (CH5)
The VN1630 has a D-SUB9 connector (CH5) for dedicated digital-analog
input/output tasks. The pin assignment can be found in section Pin Assignment
CH5 on page 21.