
User's Manual


Table Of Contents
- VX 520 Installation Guide
- Contents
- Preface
- Terminal Overview
- Terminal Setup
- VX 520 Setup
- Selecting Terminal Location
- Unpacking the Shipping Carton
- Examining Terminal Features
- Installing the Smart Battery (VX 520 GPRS Only)
- Establishing Telephone Line Connections
- Installing a Paper Roll in the Printer
- Installing/Replacing MSAM Cards
- Installing/Replacing SIM Card (VX 520 GPRS Only)
- Connecting Optional Devices
- Connecting the Terminal Power Pack
- Charging the Smart Battery (VX 520 GPRS Only)
- Privacy Shield (Optional)
- Using the Smart Card Reader
- Using the Magnetic Card Reader
- VX 520 Sprocket Setup
- Selecting Terminal Location
- Unpacking the Shipping Carton
- Examining Terminal Features
- Establishing Telephone and Line Connections
- Installing Paper Tray
- Installing Paper in the Tray
- Installing/Replacing MSAM Cards
- Connecting Optional Devices
- Connecting the Terminal Power Pack
- Privacy Shield (Optional)
- Using the Smart Card Reader
- Using the Magnetic Card Reader
- VX 520 Setup
- Specifications
- Maintenance
- Troubleshooting Guidelines
- VeriFone Service and Support
- Contact VeriFone
TERMINAL SETUP
VX 520 Setup
34 VX 520 INSTALLATION GUIDE
V
E
R
I
F
O N
E
C
O
N
F I
DE
N
T
I
A
L
TE
MP
LATE
R
EV
F
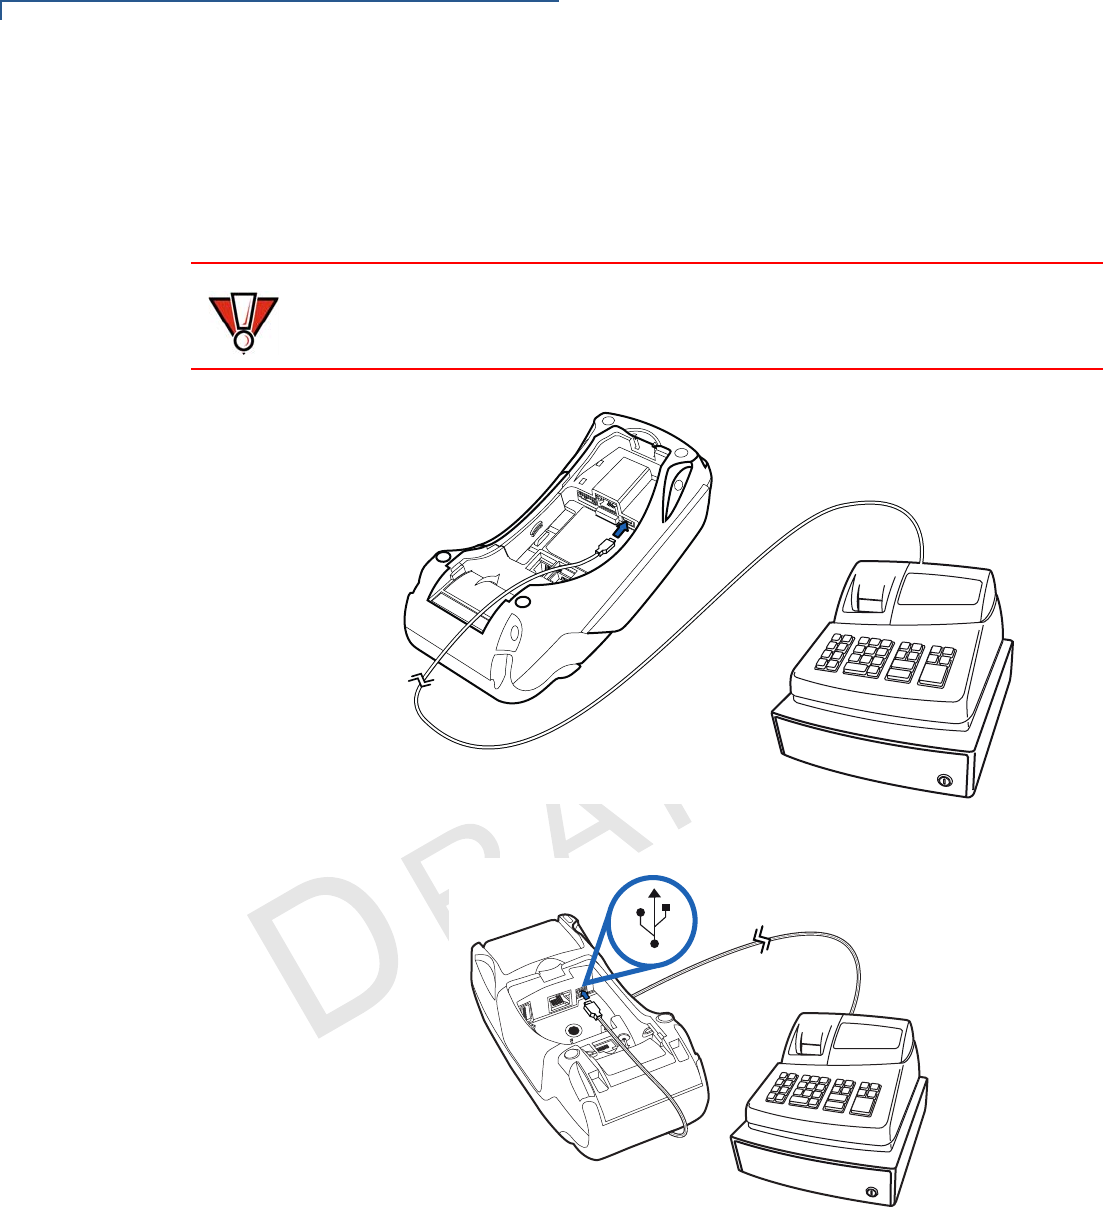
Connecting ECRs to
the VX 520
The VX 520 terminal also supports Electronic Cash Registers (ECR). Contact
your VeriFone representative or visit the online store at www.store.verifone.com
for information on these devices.
Figure 27 provides an example of a peripheral connection to the USB port.
Figure 27 VX 520 D/E Sample ECR Connection
Figure 28 VX 520 GPRS Sample ECR Connection
CAUTION
ECRs require a separate power source. Before connecting a check reader or
similar device, remove the power cord from and ensure that the indicator LED is
not lit.
3
%4(