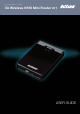
NETCOMM LIBERTY™ SERIES 3G Wireless N150 Mini Router m1 USER GUIDE
Preface This manual provides information related to the installation, operation, and application of this device. The individual reading this manual is presumed to have a basic understanding of telecommunications terminology and concepts. If you find the product to be broken or malfunctioning, please contact technical support for immediate service by email at technicalsupport@netcomm.com.au For product update, new product release, manual revision, or software upgrades, please visit our website at www.
NetComm Liberty Series - 3G Wireless N150 Mini Router m1 Table of Contents Overview �����������������������������������������������������������������������������������������������������������������������������������������������������������������������������������������������������5 What’s in the box? ������������������������������������������������������������������������������������������������������������������������������������������������������������������������������������������������������������5 Key
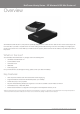
OVERVIEW
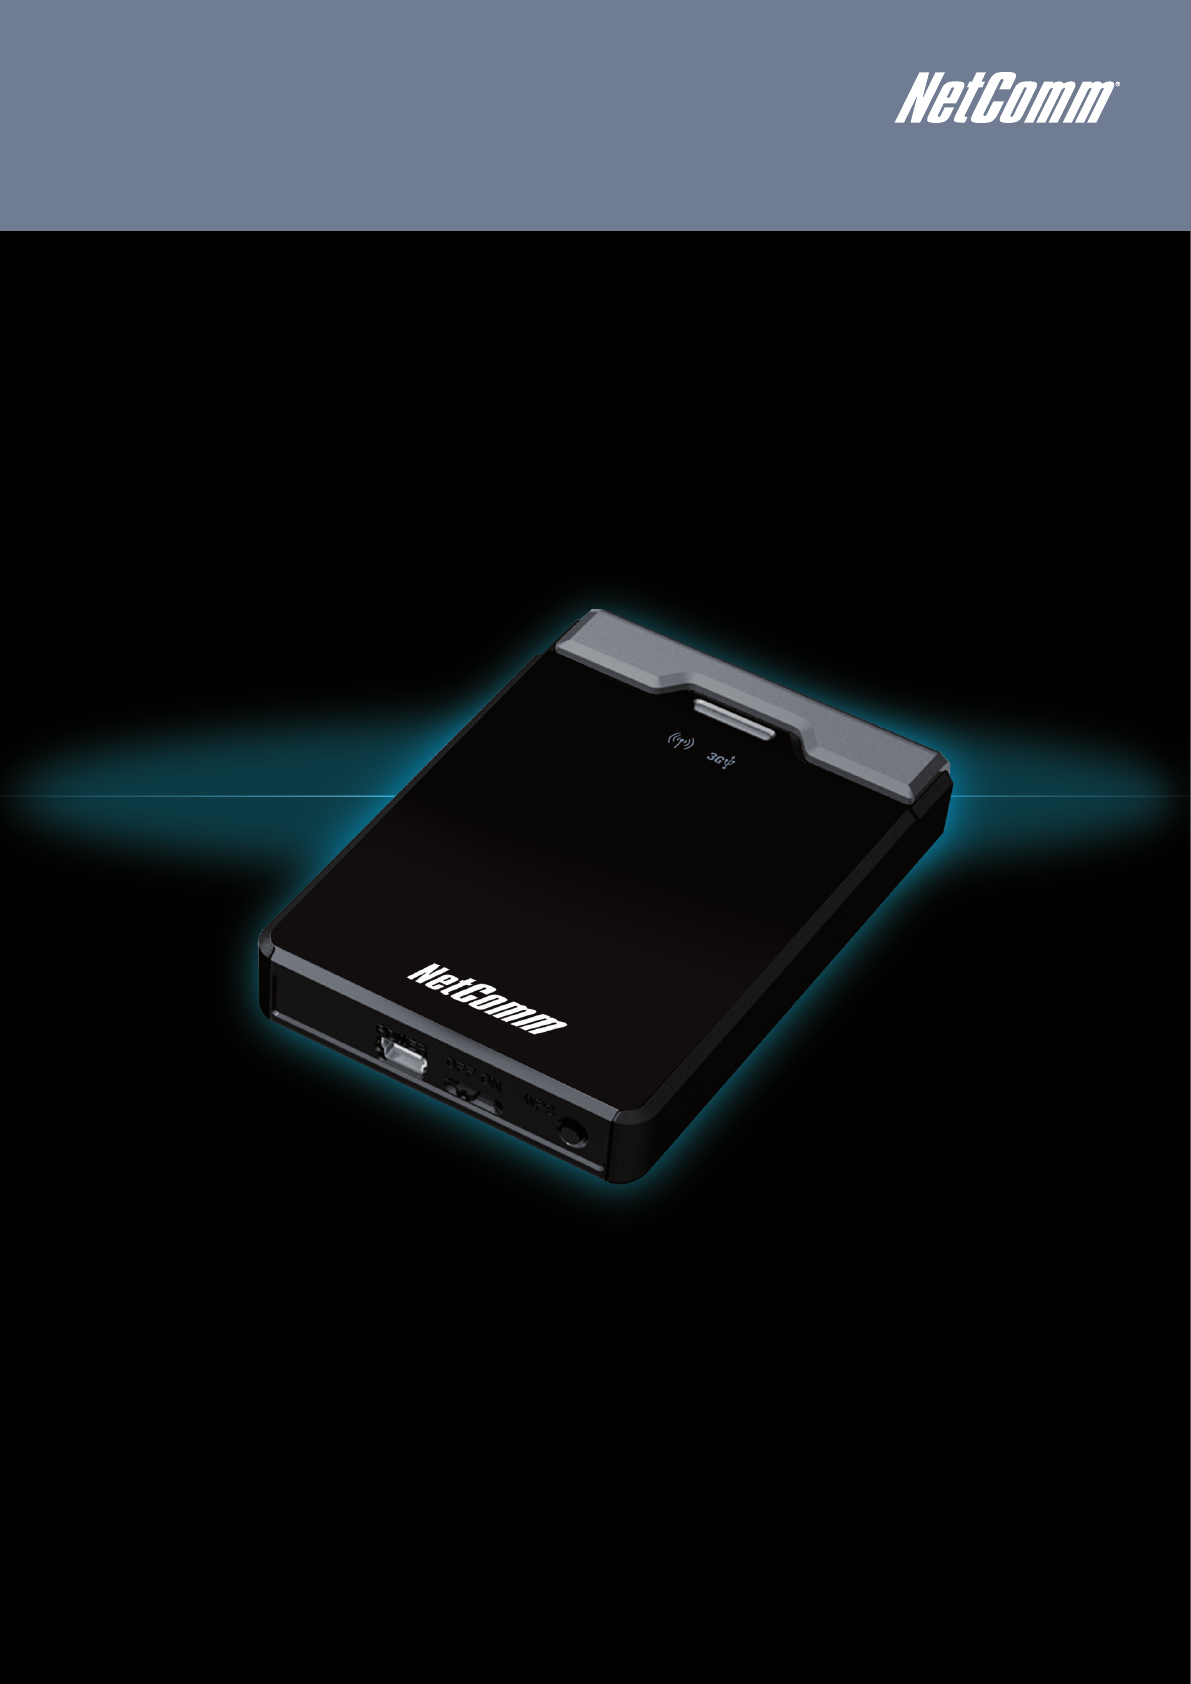
NetComm Liberty Series - 3G Wireless N150 Mini Router m1 Overview 3G Wireless N150 Mini Router m1; this product is specifically designed for the mobile user who needs to have internet access beyond his home and office. It provides a complete solution for Internet surfing and broadband sharing. Instructions for installing and configuring this product can be found in this manual. Before you install and use this product, please read this manual carefully to fully utilise the functions of this product.
Getting Started
NetComm Liberty Series - 3G Wireless N150 Mini Router m1 Getting Started Network and System Requirements Before continuing with the setup of your NetComm m1, please confirm that you comply with the minimum system requirements below. • Compatible 3G USB modem with an activated SIM card • Computer or smart phone with Windows, Nokia Symbian, Android, Macintosh or Linux-based operating systems with TCP/IP protocol installed and working, and a IEEE 802.11g, IEEE 802.11b or IEEE 802.
Avoid obstacles and interferences Avoid placing your NetComm m1 near devices that may emit radio “noise,” such as microwave ovens. Dense objects can also inhibit your wireless signal.
Getting Online in 5 minutes
Getting Online in 5 Minutes: Hardware Installation 1. Connect power to the NetComm m1 by either: A) Connecting the supplied power adapter to a wall power outlet and to the port labelled Power on the side of the NetComm m1 B) Connecting the supplied USB cable to the port labelled Power on the NetComm m1 and connects both USB connectors on the other end to compatible USB ports on your laptop/desktop computer. 2.
NetComm Liberty Series - 3G Wireless N150 Mini Router m1 Note: Y our APN (Access Point Name) is the 3G mobile network name that is used to identify your 3G mobile broadband service provider. If you don’t have this information ready, please contact your service provider to obtain this information. APN Table: Access Point Name for various providers MOBILE BROADBAND SERVICE PROVIDER APN AUSTRALIA Telstra Telstra.Internet Telstra.datapack Telstra.pcpack Telstra.
Further Configuration and Reset The NetComm m1 has been designed to work with minimal user configuration. However if you would like to set any advanced options this can be done using the “Advanced” section of the web browser based user interface. Advanced Settings To access the advanced menu, click on ‘Advanced Settings’ located at the top of the web based user interface.
NetComm Liberty Series - 3G Wireless N150 Mini Router m1 Under the ‘Network’ selection, click on the ‘Airport’ and click on ‘Search Network Name’ to see all the wireless networks available to you. Make sure your NetComm m1 is turned on. You should see a wireless network called ‘NetComm Wireless’ Click on network ‘NetComm Wireless’ Enter the password which is ‘“a1b2c3d4e5“ You are now connected to your NetComm m1. Open your browser and type in http://192.168.1.1 to access your device YMLM1WN www.netcomm.
Connecting to your NetComm m1 Wireless Network from a Windows PC The following steps have been performed on a computer running the Windows 7 operating system. For other operating systems refer to the Appendix at the end of this document. Go to the Control Panel on your computer. Then click on the ‘Network and Internet’ icon from the Control Panel menu. From the ‘Network and Sharing Center’ category, select the ‘Connect to a network’ option.
NetComm Liberty Series - 3G Wireless N150 Mini Router m1 Search for a wireless network named ‘NetComm Wireless’ from the selection and click on it to connect. Click on the ‘Connect’ button. Your computer will then try to connect to the NetComm m1. You should then be prompted to enter the Security key. Enter the default security key which is ”a1b2c3d4e5” and click on the ‘OK’ button. If you see a screen pop-up that asks you to select your location, please choose the ‘Home’ option.
Settings in the NetComm m1 Web Configuration Wizard To access the NetComm m1 web based user configuration wizard open a web browser (Internet Explorer, Safari, Mozilla Firefox, Google Chrome, etc.) and type http://192.168.1.1in the address bar at the top of the screen and hit ‘Enter’. Login: Type “admin” (without the quotes) in the System Password field. Then click on Login. Click on Wizard This page shows you the steps needed to configure your NetComm m1. Click Next to continue.
Basic Settings
Basic Settings The Basic Settings page allows you to configure a number of basic settings on the unit. This section deals with those features. Click on any of the menu items on the left to configure the associated settings. 3G Wireless N150 Mini Router m1-User Guide 18 YMLM1WN www.netcomm.com.
NetComm Liberty Series - 3G Wireless N150 Mini Router m1 Basic Settings >Network Setup This page allows you to change the LAN (Local Area Network) and WAN (Wide Area Network) connection settings on your NetComm m1. LAN Setup • LAN IP Address: the local IP address of this device. • Subnet Netmask: the subnet mask of the local IP address WAN Setup WAN fields may not be necessary for your connection.
WAN Type- WiFi Hotspot: This WAN type allows you to share one WiFi hotspot account with your friends or colleagues. Local clients connect to this router via a WiFi connection, and surf the Internet by connecting to a remote WiFi hotspot. Follow the few steps below to connect to a remote WiFi hotSpot. Note. If choosing WiFi HotSpot WAN type, the wireless channel of the Wireless network will be set to the same channel as used on the remote WiFi HotSpot.
DHCP Server
DHCP Server 1. DHCP Server: Enable or disable the DHCP server. 2. Lease Time: Length of the DHCP lease time 3. IP Pool Starting/Ending Address: Whenever there is a request, the DHCP server will automatically allocate an unused IP address from the IP address pool to the requesting computer. You must specify the starting / ending address of the IP address pool 4. Domain Name: Optional, this information will be passed to the DHCP client Click “Save” to save these settings or Undo to cancel.
Wireless
Wireless This page allows you to configure the wireless network features of the router. Wireless settings allow you to set the wireless configuration items. 1. Transmit Power: The default is set to 100% for maximum range. 2. Network ID (SSID): Network ID is used for identifying the Wireless LAN (WLAN). Wireless Clients can roam freely over this product and other Access Points that have the same Network ID. (The factory setting is “NetComm Wireless”) 3.
NetComm Liberty Series - 3G Wireless N150 Mini Router m1 b) WPA-PSK/WPA2-PSK : A newer type of security is WPA-PSK-TKIP and WPA-PSK2-AES. This type of security gives a more secure network compared to WEP. Use TKIP Encryption type for WPA-PSK and AES for WPA2-PSK. Please enter the key in the Passphrase field. The key needs to be more then 8 characters and less then 63 characters and it can be any combination of letters and numbers. Please note that the configuration for WPA-PSK and WPA2-PSK is identical.
Basic Settings > Change Password On this page you can change the NetComm m1 web based user configuration password. Please type in your old password (The factory default password is “admin”) and then type in the new password. Type the same new password in the Reconfirm field. Note: if you change the password, please make sure that you use the new password the next time you log into the web based user configuration. Click “Save” to save the settings or “Undo” to cancel.
Security Settings
Security Settings The Security Setting page allows you to configure the security management features on the router such as Packet filters and MAC Control. Click on any of the menu items on the left to access the associated settings. Security Settings > Packet Filters The Packet Filter enables you to control what packets are allowed to pass through the router.
NetComm Liberty Series - 3G Wireless N150 Mini Router m1 For source or destination IP address, you can define a single IP address (192.168.1.1) or a range of IP addresses (192.168.1.100-192.168.1.200). Empty fields imply all IP addresses. For source or destination port, you can also define a single port (80) or a range of ports (1000-1999). Use the prefix “T” or “U” to specify either the TCP or UDP protocol e.g. T80, U53, U2000-2999. No prefix indicates both TCP and UDP are defined.
Security Settings > MAC Control MAC Control allows you to assign different access rights for different users and to assign a specific IP address to a specific MAC address. To enable MAC Address Control please tick the Enable box on the top of the page. Two types of control are available: • Connection control. Tick the “Connection Control” box to control which clients (wired and wireless) can connect to the unit.
NetComm Liberty Series - 3G Wireless N150 Mini Router m1 Security Settings > Miscellaneous This page allows you to change various miscellaneous security settings on the unit. Administrator Time-out The period of time with no activity in the web based user configuration page to logout automatically, you may set it to zero to disable this feature. Remote Administrator Host/Port In general, only Intranet users can browse the built-in web pages to perform administration tasks.
Advanced Settings Placement
NetComm Liberty Series - 3G Wireless N150 Mini Router m1 Advanced Settings The Advanced Settings page allows you to configure the advanced settings on the router such as the System log and System time . Click on any of the menu items on the left to configure the associated settings. Advanced Settings > System Log This enables you to set up the system log feature of the router. You can also choose to export the system log via email (SMTP) or send it to a remote syslog server (UDP).
Advanced Settings > System Time This page allows you to change the System time setting on the NetComm m1. Time Zone Select the time zone where this device is located. Auto-Synchronization Click the “Enable” checkbox to enable this function. Time Server Select a NTP time server to obtain the current UTC time from Sync with Time Server Select if you want to set the Date and Time by NTP Protocol.
Tool Box
Tool Box The Tool Box page consists of various tools for the unit. Click on any of the menu items on the left to access the associated page. Tool Box > System Info From this page you can view the system log and the routing table information for the router. Tool Box> Firmware Upgrade You can upgrade the router firmware by clicking the “Upgrade” button 3G Wireless N150 Mini Router m1-User Guide 36 YMLM1WN www.netcomm.com.
NetComm Liberty Series - 3G Wireless N150 Mini Router m1 Tool Box > Backup Setting You can backup your current settings by clicking the “Backup Setting” button then and save it as a bin file. When you want to restore these settings, click the “Firmware Upgrade” button and use the bin file you saved. Tool Box > Reset to Default Tool Box > Reboot YMLM1WN www.netcomm.com.
Troubleshooting Placement
NetComm Liberty Series - 3G Wireless N150 Mini Router m1 Troubleshooting Are you having trouble connecting wirelessly? 1. Make sure that the WiFi device you are using to connect to the NetComm m1 is turned ON. For example, most laptops have a manual WiFi ON/OFF button that is typically located to the front or the side of the laptop, depending on the brand. Please contact your laptop or wireless device manufacturer for more information regarding this. 2.
Legal and Regulatory Information
NetComm Liberty Series - 3G Wireless N150 Mini Router m1 Legal & Regulatory Information This manual is copyright. Apart from any fair dealing for the purposes of private study, research, criticism or review, as permitted under the Copyright Act, no part may be reproduced, stored in a retrieval system or transmitted in any form, by any means, be it electronic, mechanical, recording or otherwise, without the prior written permission of NetComm Limited.
Product Warranty The warranty is granted on the following conditions: 1. This warranty extends to the original purchaser (you) and is not transferable; 2. This warranty shall not apply to software programs, batteries, power supplies, cables or other accessories supplied in or with the product; 3. The customer complies with all of the terms of any relevant agreement with NetComm and any other reasonable requirements of NetComm including producing such evidence of purchase as NetComm may require; 4.
NetComm Liberty Series - 3G Wireless N150 Mini Router m1 NETCOMM LIMITED Head Office PO Box 1200, Lane Cove NSW 2066 Australia P: 02 9424 2070 F: 02 9424 2010 E: int.sales@netcomm.com.au W: www.netcommlimited.com. DYNALINK NZ 12c Tea Kea Place, Albany, Auckland, New Zealand P: 09 448 5548 F: 09 448 5549 E: sales@dynalink.co.nz W: www.dynalink.co.nz Product Warranty NetComm products have a standard 12 months warranty from date of purchase.