
User Guide


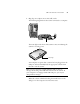
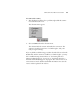
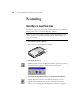

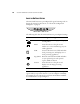
Table Of Contents
- Table of Contents
- Welcome
- What’s in the Box
- The Visioneer 9020 USB Scanner
- What You Need
- STEP 1: Installing the PaperPort Software
- STEP 2: Connecting the Scanner
- STEP 3: Checking Out Your Scanner
- Three Ways to Scan Paper Items
- Scanning Paper Items with the OneTouch Buttons
- Scanning Paper Items from the Button Panel on the Screen
- Scanning 35mm Slides and Negatives
- Configuring the Scanner
- Scanning from the PaperPort Software
- Adjusting the Settings on the Scan Manager Pro
- Troubleshooting
- Cleaning the Scanner Glass
- How to Uninstall Your Scanner
- Contacting Visioneer America Technical Support
- Contacting Visioneer—International Technical Support
- Visioneer PhotoPort 9020 USB Scanner Specifications
8 VISIONEER 9020 USB SCANNER INSTALLATION GUIDE
2. Check that the TPA cable is plugged into the Option port on the
back of the scanner.
Your 9020 scanner is shipped with the TPA cable already plugged
into the Option port, however, if the cable came loose during
shipping, you must plug it into the port securely.
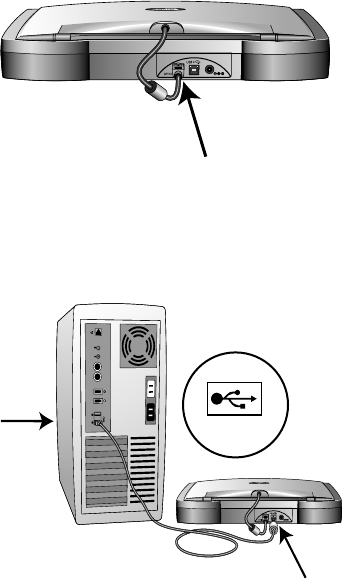
3. Plug one end of the USB cable into an available USB 1.1 or USB
2.0 port on the computer.
4. Plug the other end of the USB cable into the scanner’s USB port.
If the plug does not attach easily, make sure that you are plugging it
in correctly. Do not force the plug into the connection.
Some computers also have keyboards with USB ports. You can plug
the cable into the keyboard instead of the USB port on the
computer.
5. Plug the power adapter cable into the power jack on the back of the
scanner.
USB