
User manual


Table Of Contents
- Overview
- Ready to Use
- Software Installation
- Accessing the Network Camera
- Using VIVOTEK Recording Software
- Using 3GPP-compatible Mobile Devices
- Using RTSP Players
- Main Page
- Client Settings
- Configuration
- System > General settings
- System > Homepage layout
- System > Logs
- System > Parameters
- System > Maintenance
- Media > Image
- Media > Video
- Media > Video
- Network > General settings
- Network > Streaming protocols
- Network > SNMP (Simple Network Management Protocol)
- Security > User accounts
- Security > HTTPS (Hypertext Transfer Protocol over SSL)
- Security > Access List
- PTZ > PTZ settings
- Event > Event settings
- Applications > Motion detection
- Applications > Tampering detection
- Applications > Package management - a.k.a., VADP (VIVOTEK Application Development Platform)
- Recording > Recording settings
- Local storage > SD card management
- Local storage > Content management
- Appendix
VIVOTEK
User's Manual - 17
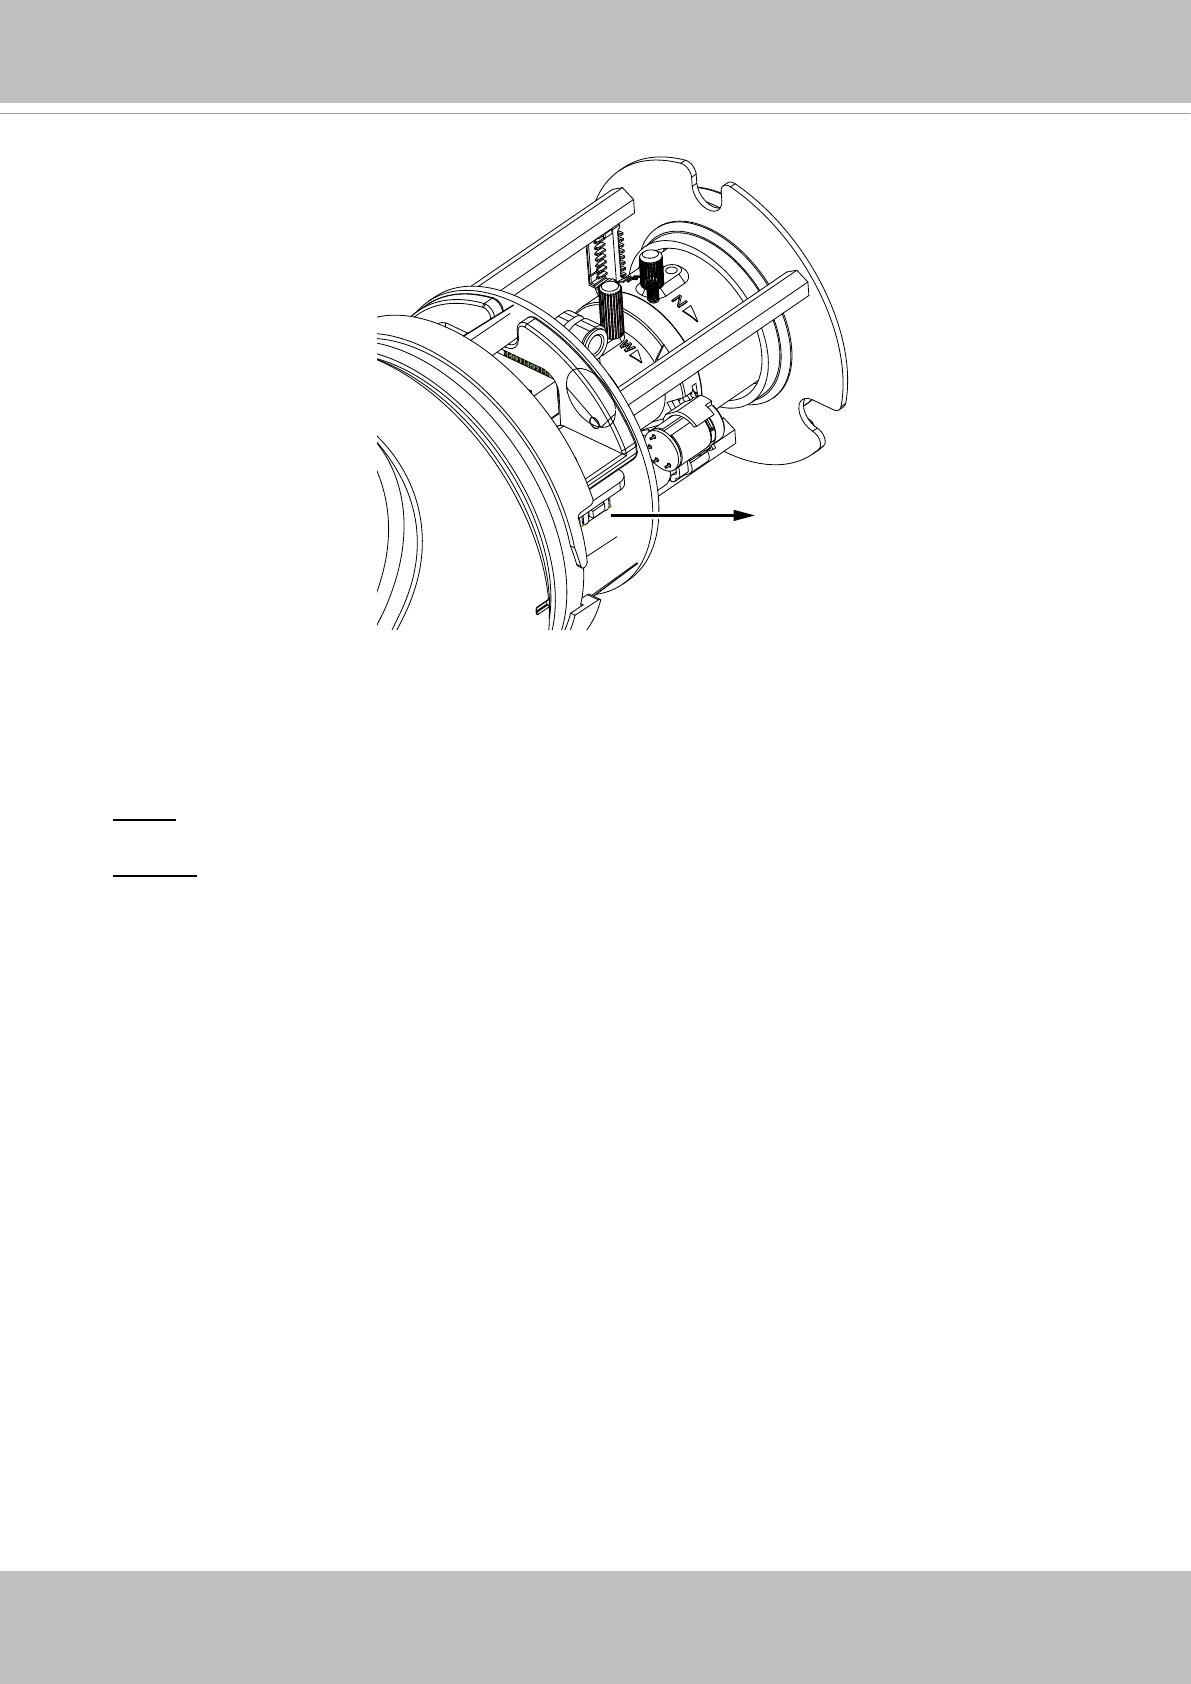
Hardware Reset
The reset button is used to reset the system or restore the factory default settings.
Sometimes resetting the system can return the camera to normal operation. If the system
problems remain after reset, restore the factory settings and install again.
Reset: Press the recessed reset button. Wait for the Network Camera to reboot.
Restore: Press and hold the reset button until the status LED rapidly blinks. Note that all
settings will be restored to factory default. Upon successful restore, the status LED will
blink green and red during normal operation.
SD/SDHC/SDXC Card Capacity
This network camera is compliant with SD/SDHC/SDXC 16GB / 8GB / 32GB / 64GB and
other preceding standard SD cards.
Reset Button