
Manual
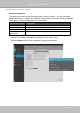

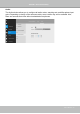
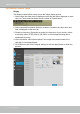
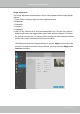


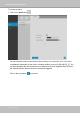
Table Of Contents
- Revision History
- Chapter One Hardware Installation and Initial Configuration
- Section One
- Management over a
- Local Console
- Chapter Two
- Introduction to the Local Console Interface
- Chapter Three
- Configuation Using the Local Console
- The Main Control Portal
- 3-3-1. Basic Search
- 3-3-2. Advanced Search
- 3-3-3. Storyboard
- 3-4-1. Settings - Overview
- 3-4-2. Settings - Camera - Management
- 3-4-3. Settings - Camera - Recording
- 3-4-4. Settings - Camera - Media
- 3-4-5. Settings - Camera - Image
- 3-4-6. Settings - Camera - Motion Detection
- 3-4-7. Settings - Camera - PTZ settings
- 3-4-8. Settings - Alarm - Alarm
- 3-4-9. Settings - Alarm - Email
- 3-4-10. Settings - System - Information
- 3-4-11. Settings - System - Maintenance
- 3-4-12. Settings - System - Display
- 3-4-13. Settings - System - UPS
- 3-4-14. Settings - System - Log
- 3-4-15. Settings - User
- 3-4-16. Settings - Storage
- 3-4-17. Settings - Network
- Settings - Network - IP
- Settings - DDNS
- Settings - Service
- Section Two
- Management over a Web Console
- Chapter Four Login and Getting Started
- 4-1. Login
- 4-2. Graphical Layout and Screen Elements - Liveview
- 4-2-4. Logo & Menu
- 4-2-5. View Cell panel
- 4-2-6. PTZ panel
- Adding Cameras to View Cells
- 4-2-7. Alarm panel
- 4-3. Graphical Layout and Screen Elements - Search recording clips
- 4-3-6. Calendar Panel
- 4-3-5. Alarm Panel
- Search Recording Clips Control Panel
- Chapter Five System Settings
- Chapter Six Operation
- Technical Specifications
- Safety and Compatibility
VIVOTEK - Built with Reliability
64 - User's Manual
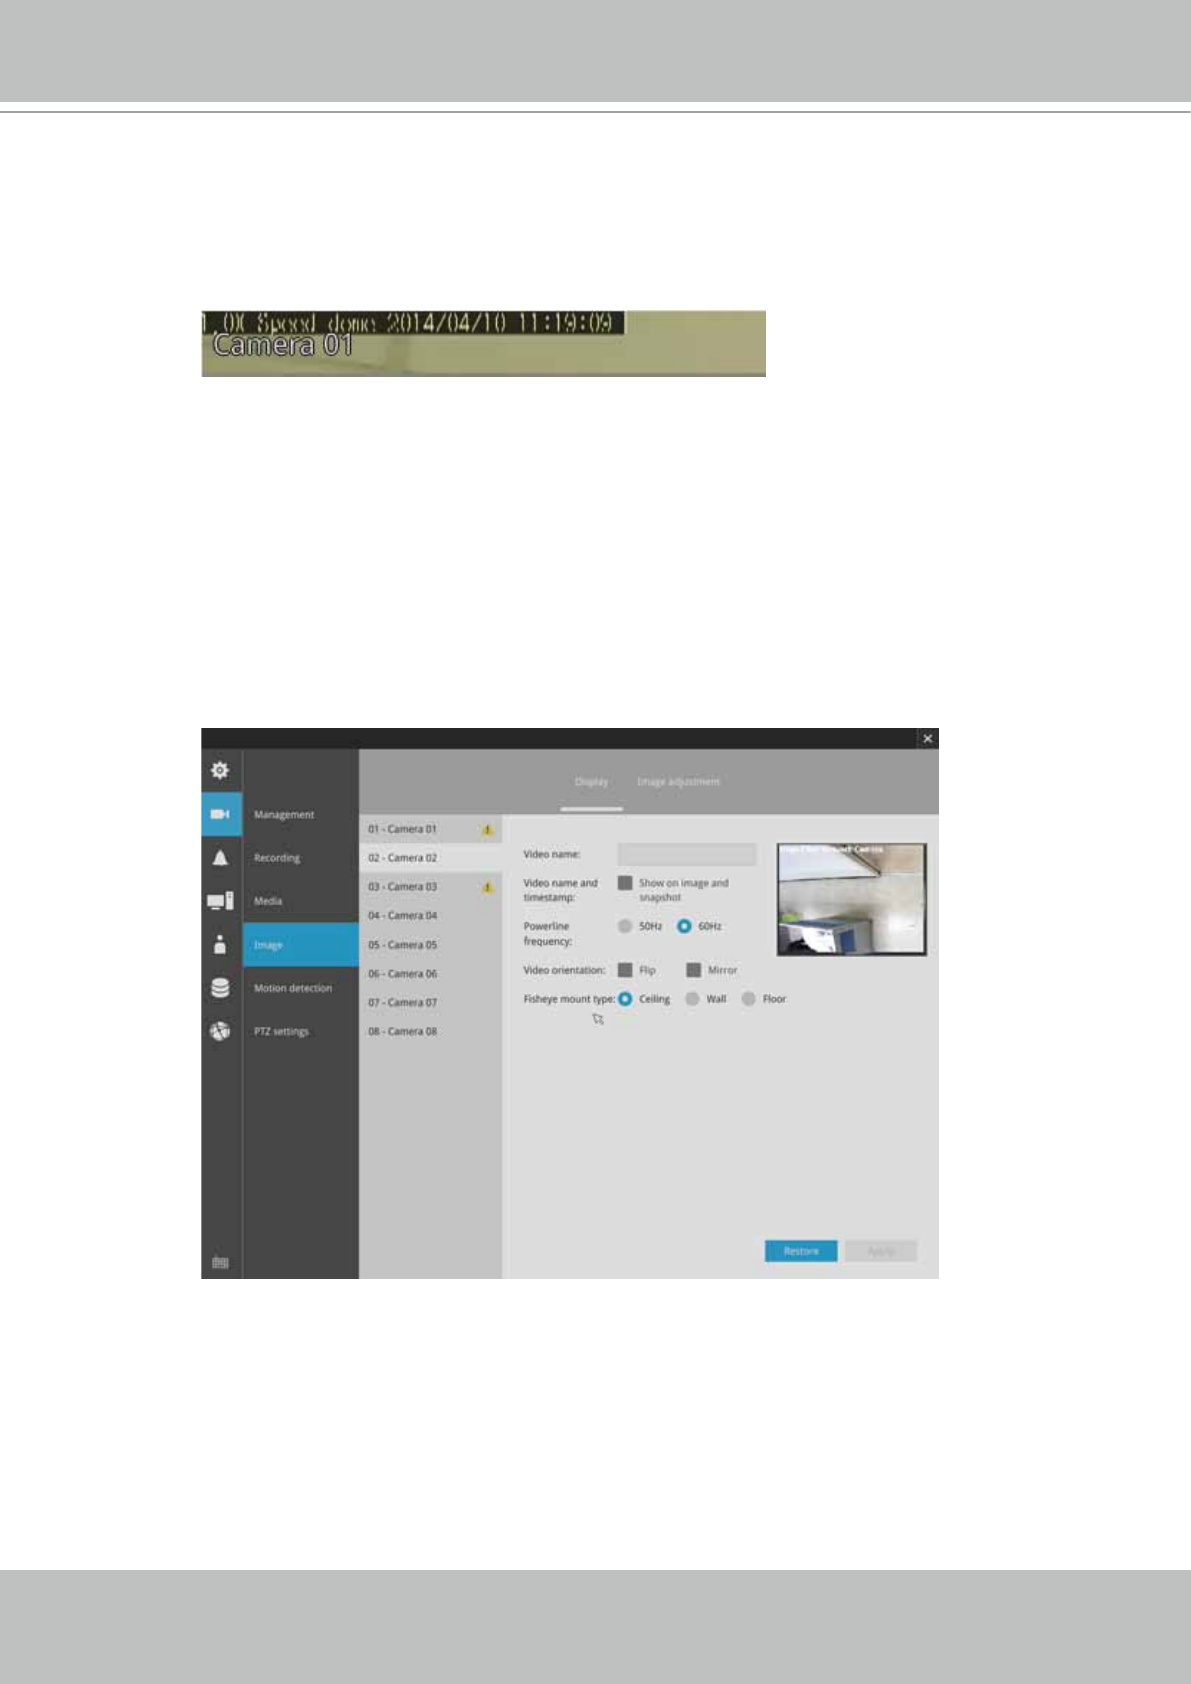
Display
The Display window allows users to tune the image display options:
1. Video name: the video name is displayed on the title bar that is displayed on each
view cell. The screen shot below shows a name as "Speed dome."
2. Video name and timestamp: Default is enabled. If enabled, the video name and
time is displayed on the view cell.
3. Powerline frequency: Depending on power line frequency of your country, select
a matching option, NTSC 60Hz or PAL 50Hz, to avoid image ickering due to
unmatched electricity.
4. Video orientation: select these options if the image from camera needs to be
vertically or horizontally ipped.
5. Click Restore to poll for the original settings or click the Apply button to nish the
process.
3-4-5. Settings - Camera - Image