
User's Manual


Table Of Contents
- Installing the TV
- Controls and Connections
- Connecting Your Devices
- Completing the First-Time Setup
- Using the On-Screen Menu
- Navigating the On-Screen Menu
- Changing the Input Source
- Changing the Screen Aspect Ratio
- Viewing Video with the Menu Open
- Adjusting the Picture Settings
- Adjusting the Audio Settings
- Setting Timers
- Using the Network Connection Menu
- Setting Up the Tuner
- Listening to Alternate Audio
- Setting Up Closed Captioning
- Renaming Devices on the Input Menu
- Changing the TV Settings
- Viewing System Information
- Changing the On-Screen Menu Language
- Setting the Time & Local Settings
- Using the Parental Controls
- Accessing the Parental Controls Menu
- Enabling or Disabling Program Ratings
- Locking and Unlocking Channels
- Blocking and Unblocking Content by Rating
- Changing the Parental Control Passcode
- Resetting the Content Locks
- Adjusting the CEC Settings
- Turning the Power Indicator On or Off
- Using the Reset & Admin Menu
- Using the Info Window
- Using the USB Media Player
- Using VIZIO Internet Apps Plus® (V.I.A. Plus)
- Troubleshooting & Technical Support
- Specifications
- Limited Warranty
- Legal & Compliance
5
44
Changing the On-Screen Menu Language
Your TV can display the on-screen menu in different languages.
To change the on-screen menu language:
1. Press the MENU button on the
remote. The on-screen menu is
displayed.
2. Use the Arrow buttons on the
remote to highlight System and
press OK. The SYSTEM menu is
displayed.
3. Use the Arrow buttons on the
remote to highlight Menu
Language and press OK. The
MENU LANGUAGE menu is
displayed.
4. Highlight your preferred
language (English, Español, o r
Français) and press OK.
5. Press the EXIT button on the
remote.
Help
VIZIO
Network
Sleep
Timer
Input CC
ABC
Audio
Wide
Normal
Picture
Settings
PanoramicWide Zoom
2D 3DExit
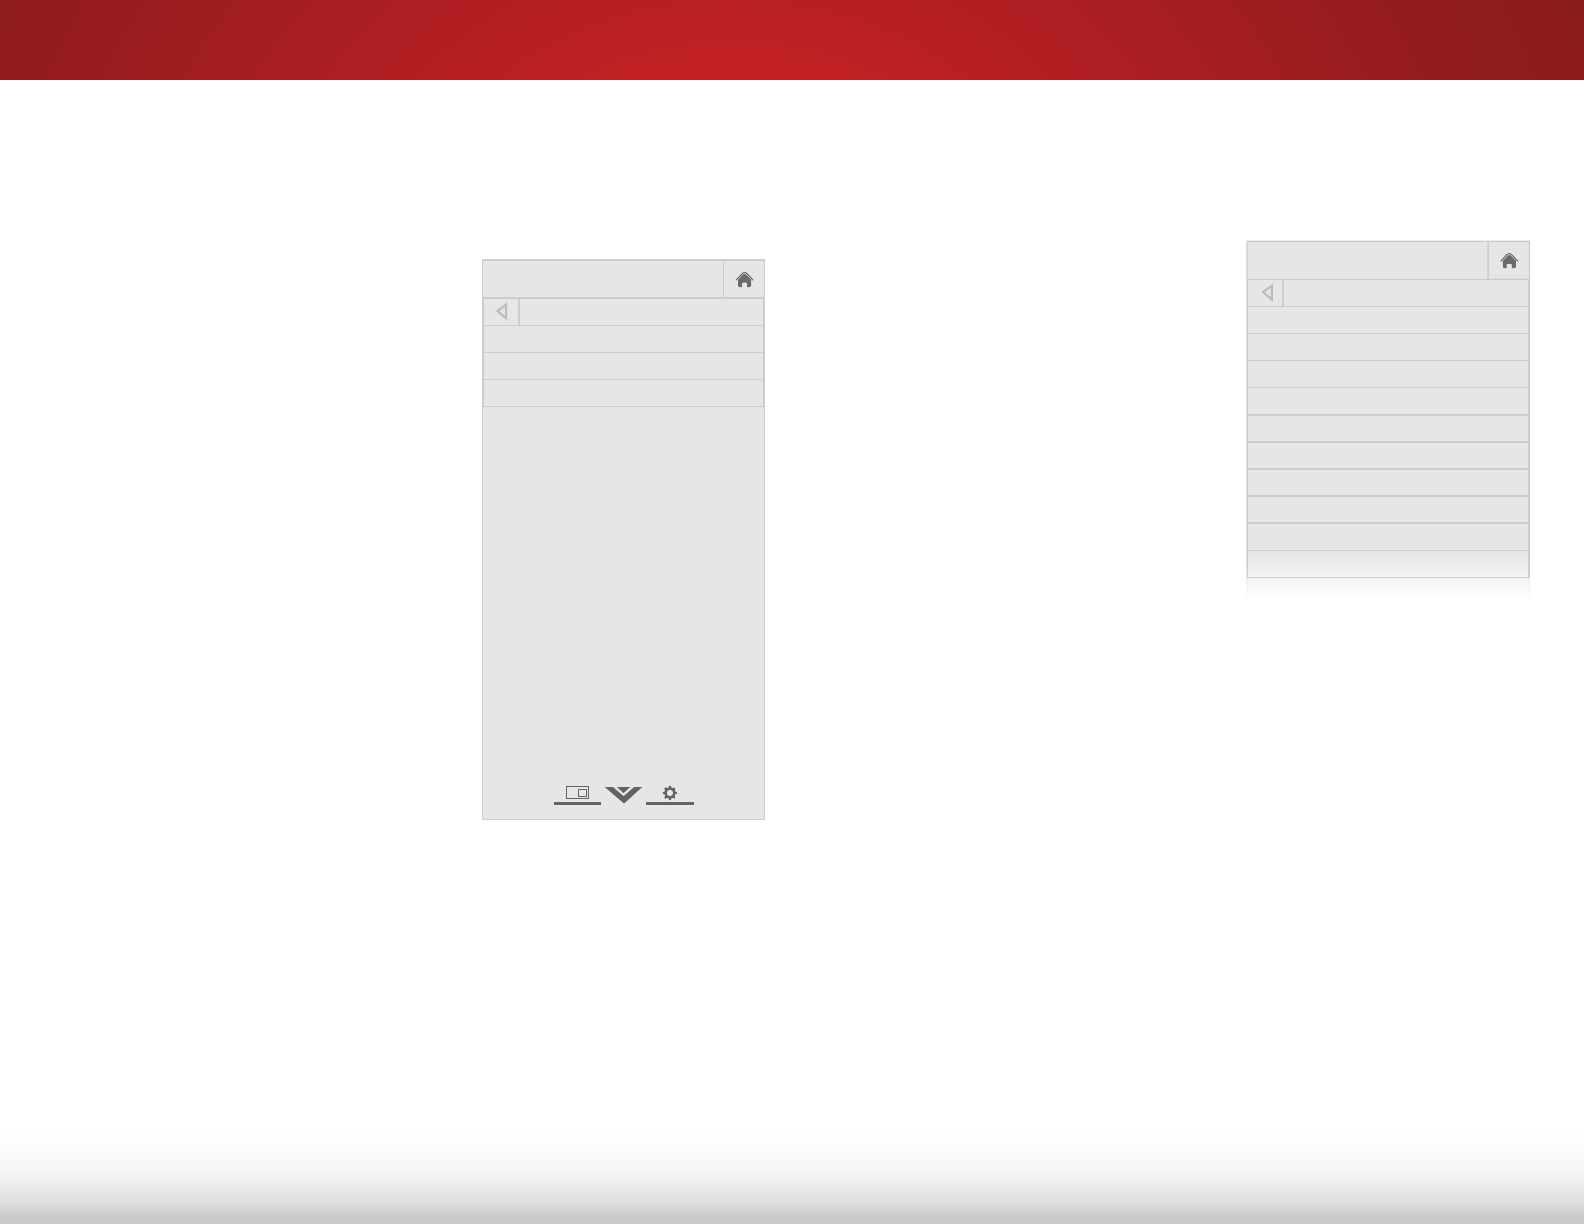
MENU LANGUAGE
English
Español
Français
Setting the Time & Local Settings
To ensure the correct time is displayed when you press the INFO
button, set the TV’s time zone:
1. Press the MENU button on the
remote. The on-screen menu is
displayed.
2. Use the Arrow buttons on the
remote to highlight System and
press OK. The SYSTEM menu is
displayed.
3. Use the Arrow buttons on the
remote to highlight Time &
Local Settings and press OK.
The menu headed by the local
date and time is displayed.
4. Highlight Time Zone and press
OK. The TIME ZONE menu is
displayed.
5. Highlight your time zone and press OK.
6. Highlight Daylight Saving Time and press OK. The DAYLIGHT
SAVING TIME menu is displayed. Choose On if your locale
observes daylight savings time, Off if it does not, or Auto to
have your TV detect daylight savings automatically.
7. If you are in the United States, highlight Zip Code. Enter your
Zip code using the keypad on the remote, then press OK. Zip
codes are often used by V.I.A. Plus Apps to give you the most
accurate location-based information, such as weather or
news.
8. Press the EXIT button on the remote.
Help
VIZIO
Network
Sleep
Timer
Input CC
ABC
Audio
Wide
Normal
Picture
Settings
PanoramicWide Zoom
2D 3DExit
TIME ZONE
Hawaii (-10)
Alaska (-9)
Pacific (-8)
Mountain (-7)
Arizona (-7)
Central (-6)
Indiana (-6)
Eastern (-5)
Atlantic (-4)
Newfoundland (-3.5)