
Operation Manual

88
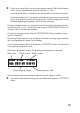
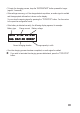
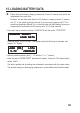
• Keep the button “ENTER/START” depressed for approx. 3 seconds to access the next
menu, then let the button go again immediately. The following display appears (depend-
ing on the previously selected battery type):
¼
Please note: If you keep the button “ENTER/START” pressed too long, the display
shows “SAVE” and the settings are saved. In this case, just restart setting.
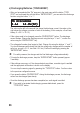
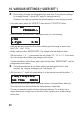
• Briefly press the button “ENTER/START”; the current value in the bottom line starts to
flash.
¼
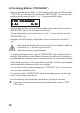
With NiCd or NiMH batteries, you can switch between manual and automatic mode
by simultaneously pressing the buttons “+”
and “-” (see chapter 12. a).
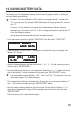
With lithium batteries, the cell number must also be set besides the charge current.
Change this as usual using the buttons “+” and “-”, confirm the value using the “ENTER/
START” button.
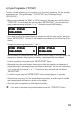
• If the values are not flashing, use the buttons “+” and “-” to select one of the pro-
grammes. Depending on battery type, “CHARGE”, “DISCHARGE”, “STORAGE”,
“BALANCE”, “CYCLE”, etc. are possible.
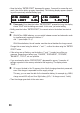
• If you now keep the button “ENTER/START” depressed for approx. 3 seconds, all
settings are saved in the memory selected at the beginning. The display shows
“SAVE . . .”.
¼
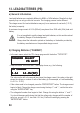
Of course, the data in the 10 memory slots of both charging channels is preserved,
even if the charger is separated from the supply voltage.
This way, you can save the data for the transmitter battery, for example (e.g. NiMH,
charge current 400 mA) and for a flight battery (LiPo, 1 A charge current, 3 cells).
• Then the charger goes back to the main menu.
NiMH CHARGE At*NiMH CHARGE At*
NiMH CHARGE At*NiMH CHARGE At*
NiMH CHARGE At*
CUR LIMIT 4.0ACUR LIMIT 4.0A
CUR LIMIT 4.0ACUR LIMIT 4.0A
CUR LIMIT 4.0A
LiPo CHARGE *LiPo CHARGE *
LiPo CHARGE *LiPo CHARGE *
LiPo CHARGE *
1.0A 7.4V(2S)1.0A 7.4V(2S)
1.0A 7.4V(2S)1.0A 7.4V(2S)
1.0A 7.4V(2S)