
Installation Instructions

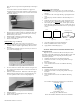
Install & Maint. Wall Base 15: 02-03-15
Installation and Maintenance Instructions
WALL BASE
NOTICE TO INSTALLER
This brochure contains important installation, maintenance and warranty information as well as cautions and warnings. Our warranty will become effective only if
these instructions are followed in every respect. FOR A COMPLETE STATEMENT OF VPI’S WARRANTY, contact: VPI, Manager, Customer Service, P.O. Box
451, Sheboygan, WI 53082-0451. PLEASE MAKE CERTAIN THESE INSTRUCTIONS RE PLACED IN THE HANDS OF THE FLOOR OWNER.
Please note: In all cases, installations should comply with procedures outlined in ASTM Standards for installation, at a minimum. For procedures specific to VPI
products, please refer to the instructions below or at www.vpicorp.com/product-installation-maintenance, for the most up-to-date recommended installation techniques.
Read the complete instructions before beginning the installation.
GENERAL
The wall surface must be thoroughly dry, smooth, and free from
dirt, wallpaper, vinyl wall covering, grease, old adhesives, and other
extraneous material. DO NOT apply directly over outside walls in
contact with earth (such as unfurred basement walls) or over ceramic
tile, metals, or other impervious surfaces because poor adhesion may
result.
Maintain the wall base, adhesive, and room air at a uniform
temperature of at least 70°F for 24 hours prior to, during, and 48
hours after the installation. Rolled wall base should be unrolled and
allowed to lie flat for 24 hours prior to the installation to regain its
normal shape.
Use only VPI #600 wall base adhesive carefully following the
directions on the container label. THE USE OF ANY OTHER
ADHESIVE WILL VOID VPI’S WARRANTY.
INSTALLATION OF BASE
Spread the adhesive either on the back of the base or on the wall
using a triangular notched trowel or cartridge gun. Trowel notches
should be 3/32” deep by 3/32” wide with 3/32” flats. If applying
adhesive with a cartridge gun, use a 2-hole nozzle for 2 ½” base, a 3-
hole nozzle for 4” base, and a 5-hole nozzle for 6” base.
Apply the adhesive at least ¼” from top of base if using a trowel
and 1” from top of base if using a cartridge so that adhesive does not
seep out as the wall base is rolled.
Bond the wall base within 20 minutes of the adhesive application.
Roll thoroughly with a hand roller immediately after applying the
wall base to the wall (Figure 1). If roller is unavailable, wipe the wall
base with a soft cloth, firmly pressing the base against the wall. Base
applied to curved or irregular surfaces may require bracing until the
adhesive sets.
(Figure 1)
If the wall or floor surface is uneven, it may be necessary to trim
the edges before installing adjoining pieces of base. Use a razor-type
utility knife, cutting the wall base from face to back.
Immediately remove excess adhesive from the base or the wall
with water. Excess adhesive may leave a stain if not removed
promptly.
Avoid exposure of base to excessive heat, such as from direct
sunlight, until the adhesive has completely set.
CORNERS
Preformed outside corners are available – 2 ½”, 4” and 6” if
desired. However, both outside and inside corners can be formed
easily from standard 4-foot lengths or rolls.
Outside Corners – Suggested Method
When you come to an outside corner, butt the next section of base
to the last installed section (or continue to the corner when using
coils). Make sure the base is in the proper position on the wall as you
would install it.
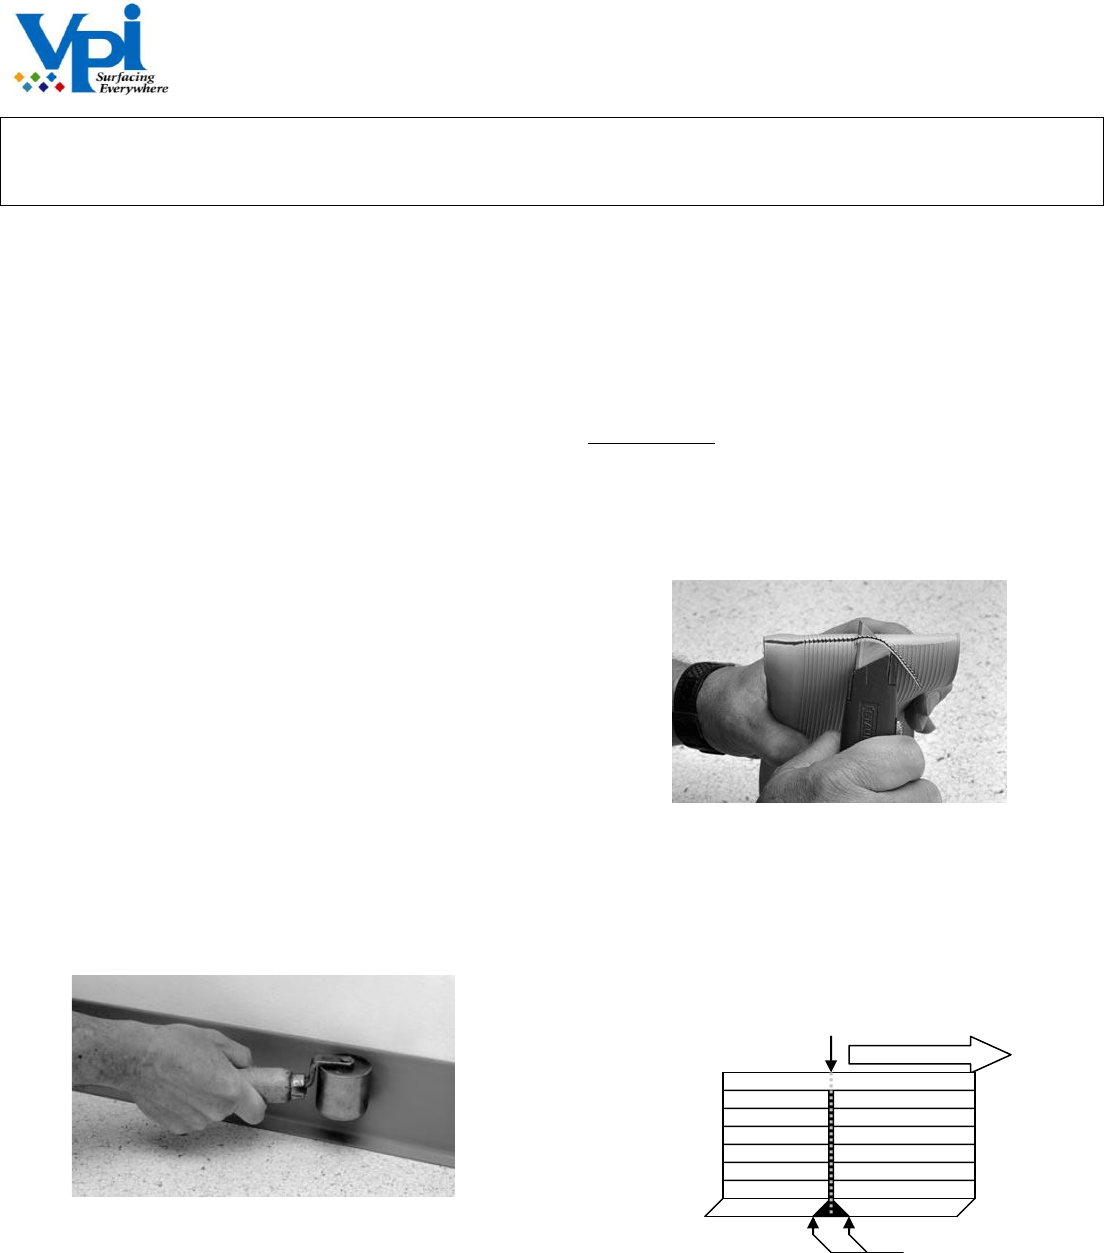
1. Using a pen or pencil, mark the base of the base using the wall
as a guide. This will give you the correct contour of the wall.
(Figure 2)
2. Fold the wall base at the line, face in, and shave the back of the
wall base while folded (Figure 2), removing the line and
approximately 1/8” of base material on either side of it. If you
are using a topset gouge to make these cuts, turn the base face
down and make your cut starting at the top and working down to
the bottom (Cut #1). Note: Always gouge on the side of the line
in the direction the base will be going.
Important: The depth of this area at its deepest point should not
exceed 20% of the base thickness.
3. To ensure that the toe sits flush against the floor, the initial cut
(Cut #1 – Figure A) can be widened on either side of the line
(Cut #2 – Figure A) near the bottom of the base, though this cut
is optional. Make the cut (gouge) downward, widening the
initial cut to approximately one half inch at the bottom. This
will ensure there is no pressure of the toe against the floor
surface.
Direction of Installation
Cut #1
Cut #2
(optional)
(Figure A)