
User Manual User Manual
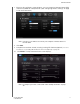
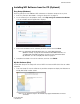
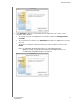
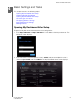
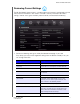
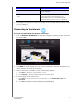
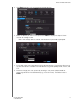
Table Of Contents
- WD® Service and Support
- Table of Contents
- Important User Information
- Product Overview
- Getting Started
- Basic Settings and Tasks
- Advanced Settings
- Performing Advanced Tasks
- Enabling Guest Access
- Setting Up Parental Controls
- Changing the Administrator's Password
- Accessing Files Stored on an Attached USB Drive
- Updating the Router’s Firmware
- Restoring the Router to Factory Defaults
- Rebooting the Router
- Using the Router as an Access Point
- Configuring UPnP
- Enabling Port Forwarding
- Accessing My Net View
- Installing and Using WD Print Share
- Troubleshooting
- Regulatory and Warranty Information
- Appendix: Technical Specifications
- Index
GETTING STARTED
18
MY NET ROUTERS
USER MANUAL
Installing WD Software from the CD (Optional)
Easy Setup (Windows)
Use Easy Setup to install additional WD software on a Windows computer at any time.
1. Start Easy Setup as described in “Using the Setup CD” on page 10.
2. On the Choose your setup option screen, click Skip and go to software installation.
A list of available software applications displays:
3. Click the check boxes for the software you want to install and click Next.
Note: For information about WD Quick View, see “Using WD Quick View
(Windows or Mac)” on page 63. For information about WD Print Share, see
“Installing and Using WD Print Share” on page 74. For information about
My Net View, see “Accessing My Net View” on page 73.
4. Complete the wizards to install the software, and then click Finish.
My Net Software (Mac)
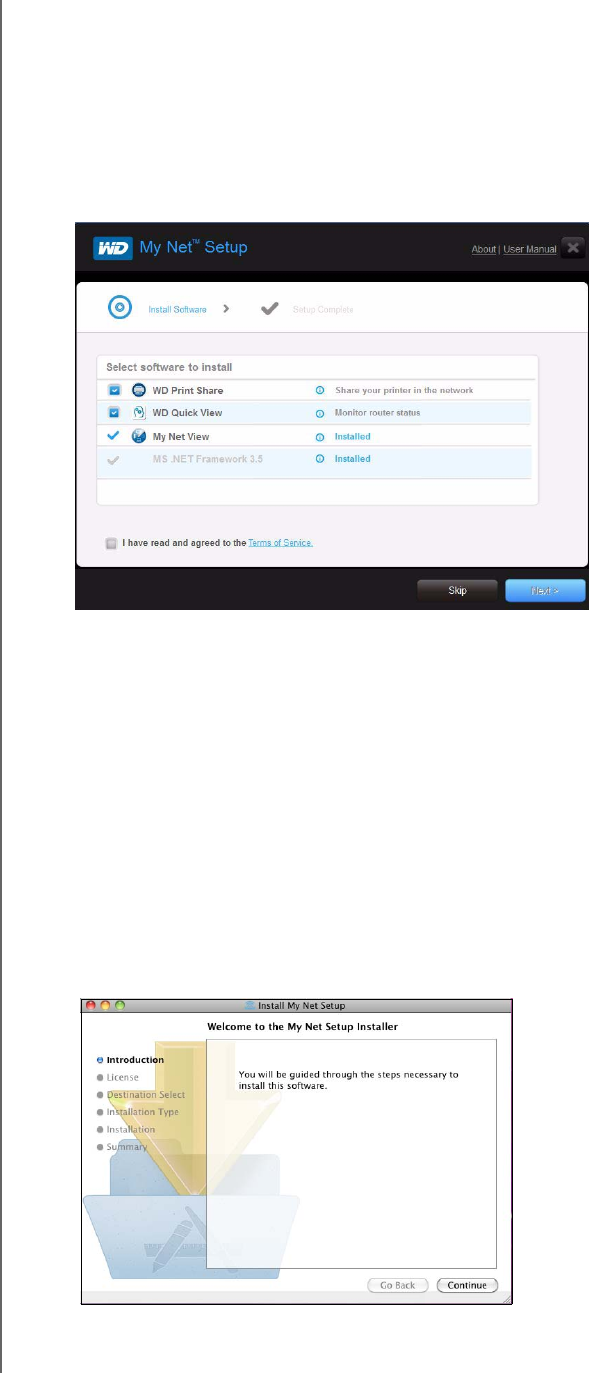
Use My Net Setup on the Setup CD to install WD Printshare and WD Quick View on a Mac
computer.
1. Insert the Setup CD into the CD drive of your Mac computer to display the Welcome to
the My Net Setup Installer screen.
Note: As you follow the steps in the wizard, they appear in bold letters in the list
on the left