
User Manual User Manual

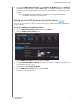
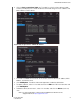
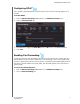
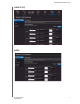
Table Of Contents
- WD® Service and Support
- Table of Contents
- Important User Information
- Product Overview
- Getting Started
- Basic Settings and Tasks
- Advanced Settings
- Performing Advanced Tasks
- Enabling Guest Access
- Setting Up Parental Controls
- Changing the Administrator's Password
- Accessing Files Stored on an Attached USB Drive
- Updating the Router’s Firmware
- Restoring the Router to Factory Defaults
- Rebooting the Router
- Using the Router as an Access Point
- Configuring UPnP
- Enabling Port Forwarding
- Accessing My Net View
- Installing and Using WD Print Share
- Troubleshooting
- Regulatory and Warranty Information
- Appendix: Technical Specifications
- Index
PERFORMING ADVANCED TASKS
69
MY NET ROUTERS
USER MANUAL
4. To configure LAN Connection Type, select Dynamic IP (DHCP) (default) or Static IP,
complete the required fields, and click Save. (See “” on page 53 for details.) The screen
informs you of how long the process will take. The router reboots, and the login screen
displays.
Note: The IP address of your extender is the static IP you assigned or the DHCP
IP address assigned by your main router.
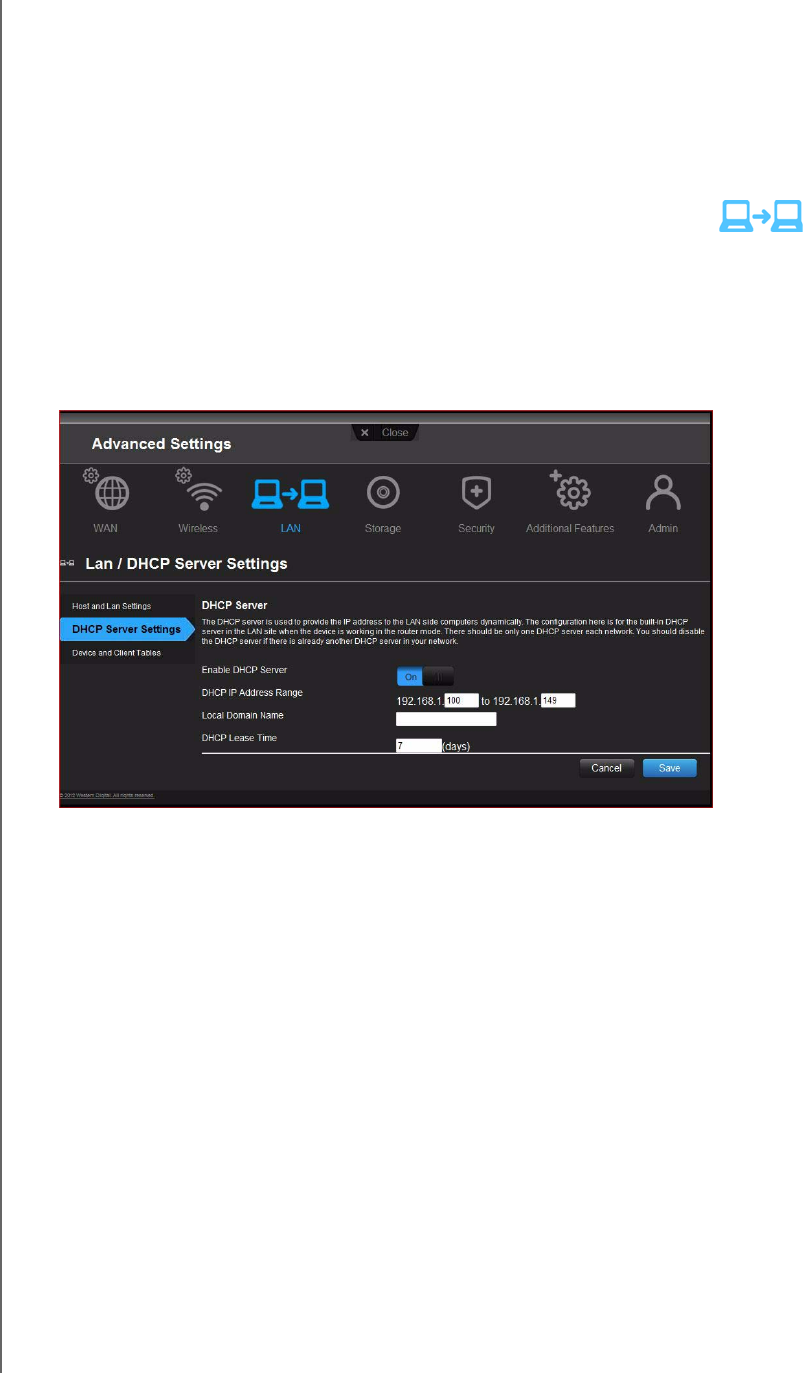
Setting up the DHCP Server on the My Net Router
You can use your router as a DHCP server that assigns IP addresses to other components
of your network.
To set up a DHCP Server on My Net Router:
1. Click the Advanced Settings
icon and then the LAN icon.
2. Click the DHCP Server Settings tab.
3. Enable DHCP server (On by default) and click Save.
4. Configure DHCP IP Address Range. By default the range is IP address 192.168.1.100
to IP address 192.168.1.149.
5. (Optional) Set a Local Domain Name.
6. Set the DHCP Lease Time (hours) and click Save.
7. Connect all the client devices.