
Administrator and Maintenance Guide User guide
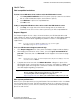
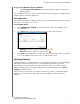
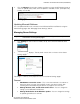
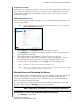
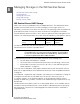
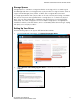
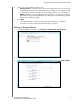
Table Of Contents
- WD® Service and Support
- WD Guardian Services
- Important User Information
- Product Overview
- Connecting the Server and Getting Started
- Managing the WD Sentinel Server (Dashboard)
- Setting up WD Sentinel Server & Connecting Computers
- Accessing the Dashboard
- Tips for Performing Dashboard Tasks
- Adding a User Account
- Performing Dashboard Tasks
- Using the Home Page
- Managing User Accounts
- Managing Devices
- Managing Storage
- Monitoring Applications
- Monitoring System Health and Alerts
- Updating Software
- Managing Server Settings
- Shutting Down and Rebooting the Server
- Managing Storage on the WD Sentinel Server
- Using the WD Sentinel Server’s Features
- Using the Launchpad (Internal Users)
- Accessing Shared Folders Over Your Network
- Accessing Computers and Shared Folders Remotely
- Backing up (Windows PC)
- Backing up with Time Machine (Mac)
- Recovering/Restoring (Windows PC)
- Recovering/Restoring (Mac)
- Backing up your WD Sentinel Server
- Recovering a WD Sentinel Server Image or Resetting the Boot Drives to Factory Defaults
- Best Practices
- Troubleshooting
- Regulatory and Warranty Information
- Appendix
- Index
MANAGING STORAGE ON THE WD SENTINEL SERVER
44
WD SENTINEL DS5100/DS6100
ADMINISTRATOR AND MAINTENANCE GUIDE
3. Select your storage method. Options are:
Storage Spaces: A Windows Server 2012 technology that allows you to virtualize
storage by grouping industry-standard disks into storage pools. Virtual disks called
storage spaces are then created from the available capacity in the storage pools.
RAID: Redundant Array of Independent Disks (RAID) lets you store the same data
in different places on multiple hard drives, providing necessary redundancy, greater
performance, and data integrity.
4. Click Next.
For Storage Spaced, continue to “Setting up Storage Spaces” on page 44
For RAID, continue to “Setting Up RAID Storage” on page 45.
Setting up Storage Spaces
1. On the Storage Spaces screen, click Create a new pool and storage space.
2. At the warning prompts, click Yes.
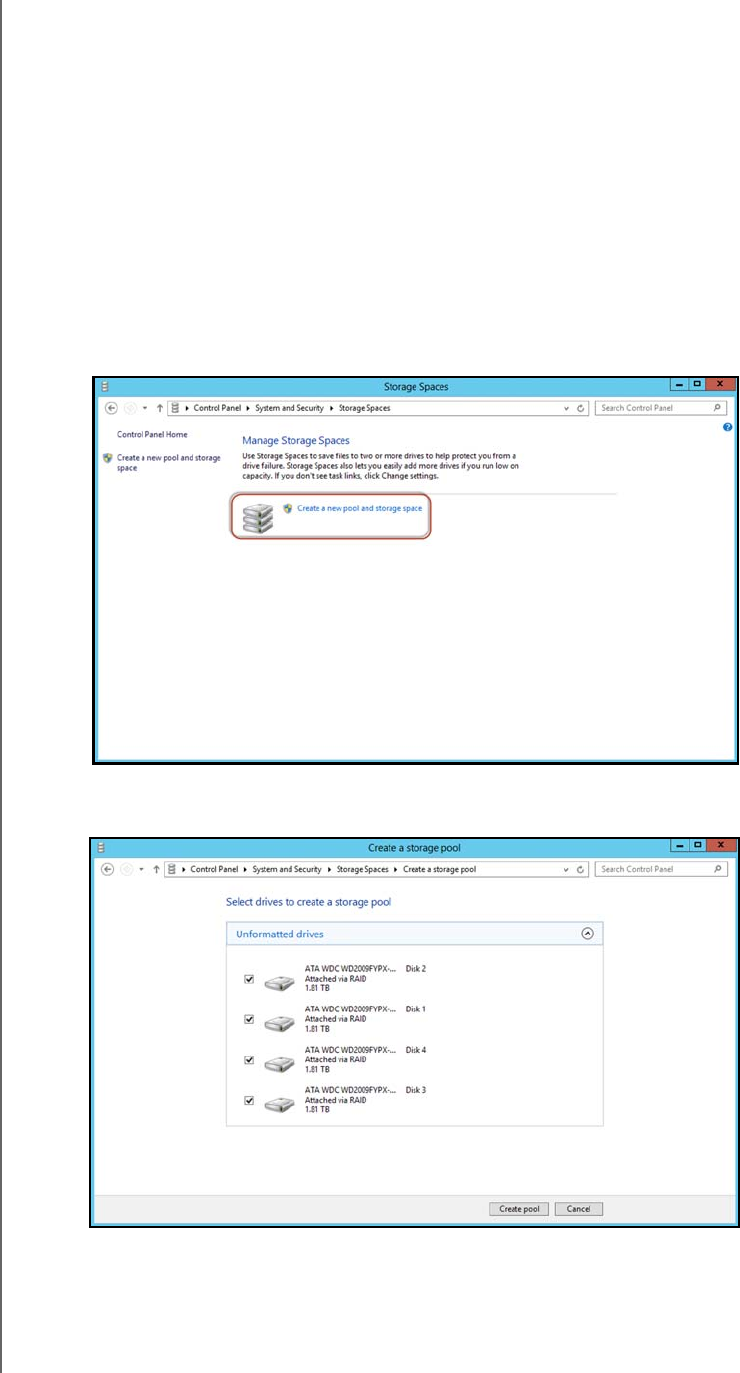
3. Select the drive(s) you’d like to set up with Storage Spaces, then click Create Pools.