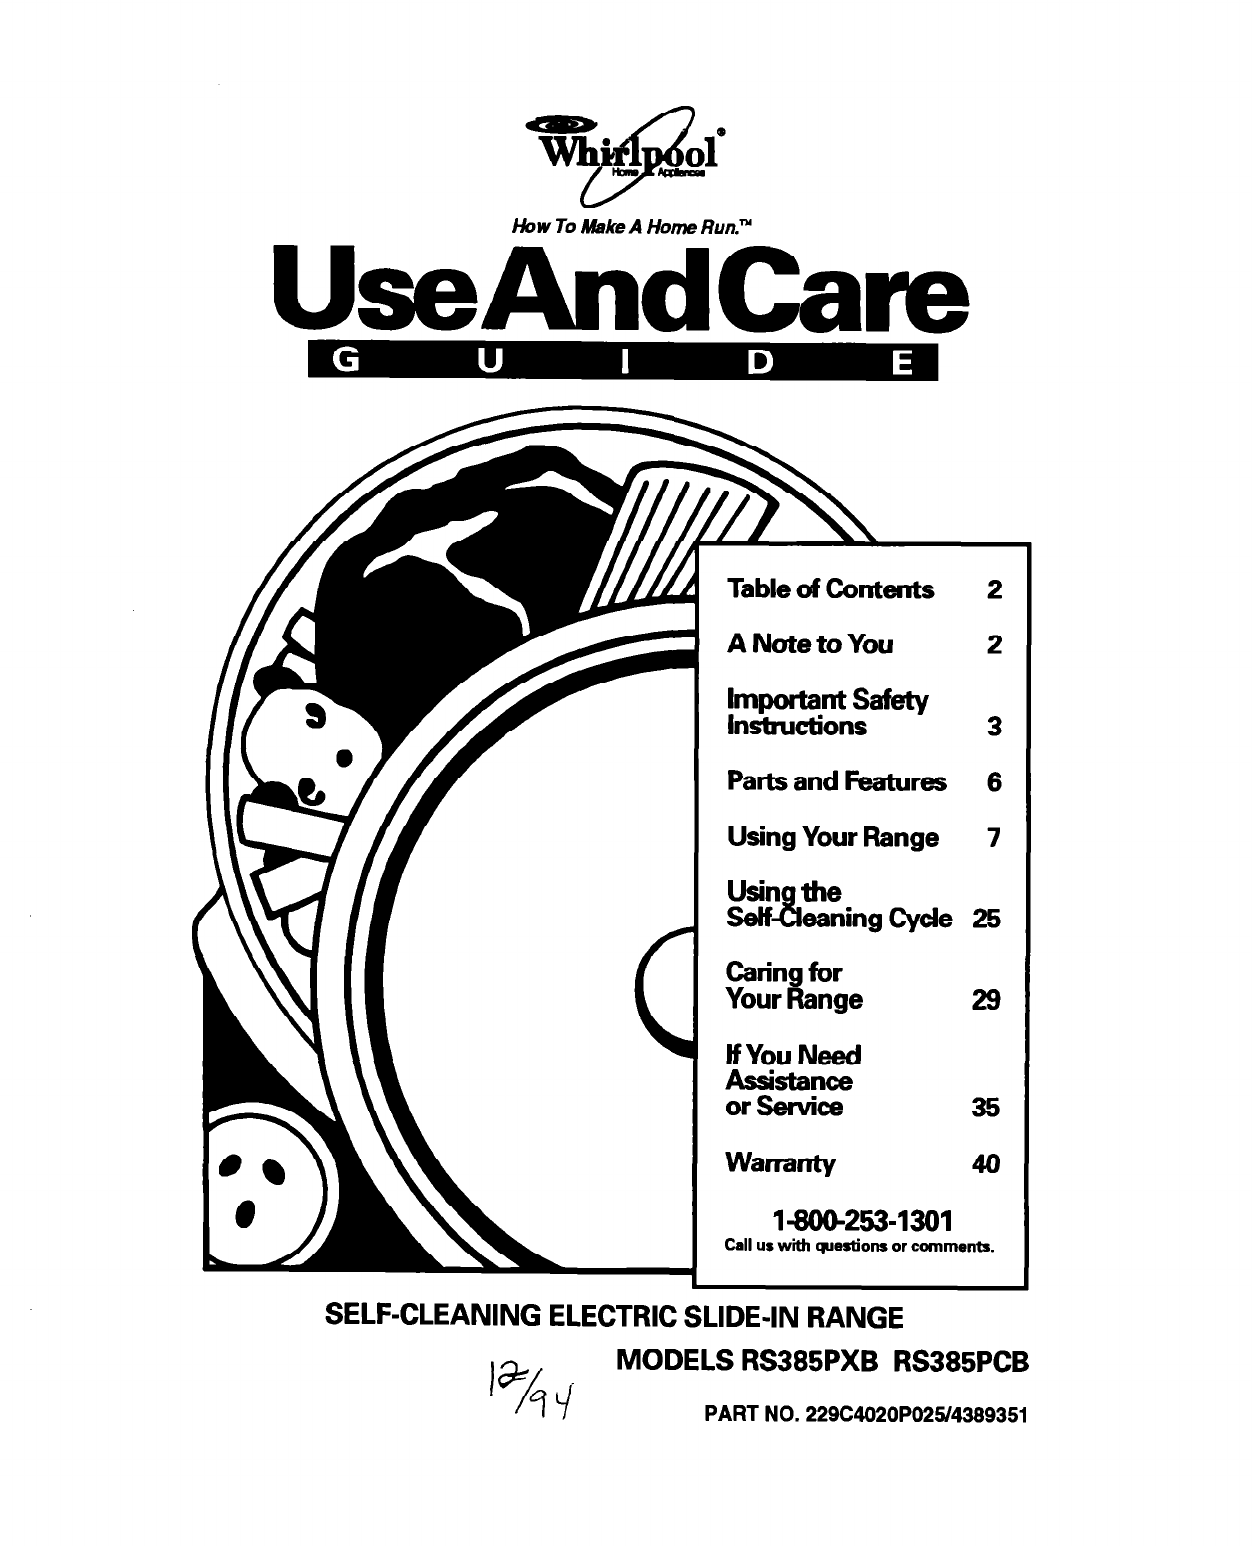
tkw To lldake A Home Run.“’ UseAndCam Table of Contents 2 A Note to You 2 kiiEZi:- 3 Parts and Features 6 Using Your Range 7 E&zing Cyde 25 Caring fkw Your Range 29 If You Need . fii?zE: 35 Warranty 40 140&253-1301 Call us with questions SELF-CLEANING ELECTRIC SLIDE-IN or comments. RANGE MODELS RS385PXB RS385PCB PART NO.
Table of Contents Page A Note to You ............................................ 2 Important Safety Instructions ................. .3 Parts and Features .................................... 6 Using Your Range ..................................... 7 Using the surface units ....................... .7 Positioning racks and pans ................. .9 For best air circulation ........................ .9 Using aluminum foil for baking ......... .10 The electronic oven control .............. .
Imtxwtant Your safety Safe- is important Instructions to us. This guide contains safety symbols and statements. Please pay special attention to these symbols and follow any instructions given. Here is a brief explanation of the use of the symbol. To reduce the risk of fire, electrical shock, injury to persons, or damage when using the range, follow basic precautions, including the following: General l l Read all instructions before using the range.
opening, the surface near the vent opening, the cooktop, and the oven door and window, could also become hot enough to cause burns. l l Do not wear loose or hanging garments when using the range. They could ignite if they touch a hot surface unit and you could be burned. l Use only d potholders. Moist or damp por holders on hot surfaces could result in burns from steam. Do not let potholder touch hot heating elements. Do not use a towel or bulky cloth for a potholder. It could catch on fire.
When using exposure to these substances could cause cancer or reproductive harm. Exposure can be minimized by ventin with a hood or open win %ow and wipin out excess food spills prior 9o self-cleaning. the oven Always position oven rack(s) in desired location while oven IS cool. If a rack must be removed while oven is hot, do not let potholder contact hot heating element in oven. l Use care when opening oven door. Let hot air or steam escape before removing or replacing food.
-~- - - Parts and Features This section contains captioned illustrations of your range. Use them to become familiar with the locatkn and appearance of all parts and features. I Plug-in surface unit with onepiece reflector bowl e (s- PP. 7,323 33) Anti-tii$fc@ Oven vent (see p. 22) \y - Control panel (s= PP. 7, f f ,32) Broil element (not shown) (see pp. 14, 17) Bake element (see p. 14) Model and serial number plate (SW Pa2) Storage drawer (see p. 23) Control Surface unit markers (s- P.
Using Your Range To obtain the best cooking results possible, you must operate your range properly. This section gives you important information for efficient and safe use of your range. Using the surface units Push in control knobs before turning them to a setting. You can set them anywhere between HI and OFF. Surface unit markers The solid dot in the surface unit marker shows which surface unit is turned on by that knob.
- Cookware l - tips Select a pan that is about the same size as the surface unit. l l l l l NOTE: For best resutts and greater energy efficiency, use only flat-bottomed cookware that makes good contact with the surface units. Cookware with rounded, warped, ribbed (such as some porcelain enamelware) or dented bottoms could cause severe overheating, which damages the cookware and/or surface unit.
Positioning For baking/roasting racks and pans with one rack, place the rack sothe top of the food will be centered in the oven. Rack placement for specific foods: FOOD 1 RACK POSITION Frozen pies, large roasts, turkeys Lowest level or 2nd level from bottom Angel and bundt cakes, most quick breads, yeast breads, casseroles, meats 2nd level from bottom Cookies, biscuits, muffins, cakes, nonfrozen pies 2nd or 3rd level from bottom To remove racks: 1. Pull rack toward you. 2. Tilt up front end.
Using aluminum foil for baking Use aluminum foil to catch spillovers from pies or casseroles: l Place the foil on the oven rack below the rack with the food. Turn up foil edges and make sure foil is about 1 inch (3 cm) l l larger all around than the dish holding the food. Do not cover the entire rack with aluminum foil. It will reduce air circulation and cause poor cooking results. Do not line oven bottom or entire oven rack with foil or other liners. Poor baking will result.
The electronic oven control ofll Cancel Pyd Timer Ciock Siop &ok On/Off pad time time pad pad Pad Display/clock l When you first plug in the range, a time of day and “PF’ will appear in the ternperature display. If, after you set the clock (page 12) “PF’ again appears on the display, your electricity was off for a while. Reset the clock. l l l When you are using the oven or Minute Timer, the display will show times, temperature settings and what command pads have been pressed.
Setting the clock The clock must be set for the automatic oven timing functions to work properly. 0 1. Press the Clock pad. CLOCK 2. Use the Increase/Decrease pads to set the time of day. Press the “up” (A) or “down” (V) pad until the correct tirne shows on the display. 3. Press the Clock pad. L NOTES: You cannot change time of day during a CLOCK l l Time Bake or SeCCleaning cycle. You can SW current time of day while another function is running by pressing the Clock pad.
After the countdown is over, three short tones will sound, followed by one tone that sounds every six seconds until you press any other command pad. To reset the Minute Timer: Repeat Steps 1 and 2 on page 12. To cancel the Minute Timer: TIMER I I Press Timer On/Off pad until TIMER stops flashing on the display (about 4 seconds). I I ONlOFF Using the Off/Cancel pad The Off/Cancel pad will cancel any function except for the Clock and Timer functions.
Baking/roasting 1. Position the rack(s) properly before turning on the oven. For further information, see “Positioning racks and pans” on page 9. 2. Press the Bake pad. The last oven temperature to be set appears on the display. 3. To cook at a different temperature, use the Increase/Decrease pad(s). Press A to raise the temperature or V to lower the temperature. Use these pads until the desired temperature shows on the small display. 4.
Adjusting the oven temperature control Oven temperature controls will gradually shift after years of use. So, even though your new oven is properly adjusted to provide accurate temperatures, il may cook faster or slower than your old oven. If, after using the oven for a perii of time, you are not satisfied with the temperature settings, you can adjust them by following these steps: 1. Press the Bake pad. 2. Select an oven temperature 500°F and 550°F. between 3.
Broiling 1. Position the rack before turning the oven on. See “Broiling rack position chart” on page 17. 2. Put the broiler pan and food on the rack. 3. Close the door to the Broil Stop position (open about 4 inches [lo cm]). The door will stay open by itself. 4. Press the Broil pad. 5. Select LO Broil (450°F) by pressing the Increase (A) pad once. Select HI Broil (550°F) by pressing the Increase (A) pad twice.
Broiling rack position chart TYPE OF FOOD/ DONENESS Hamburger patties and thin steaks %” thickor less ’ Quickly searing food, rare and medium steaks, medium patties, ham slices, fish steaks, frankfurters Well-done steaks and patties, lamb chops, split chicken, pork steaks and chops, whole fish Not used for broiling Broiling l l tips Use the broiler pan and grid for broiling. They are designed to drain excess liquid and grease away from the cooking surface to help prevent spatter, smoke or fire.
Energy saving tips Although the energy used for cooking is usually a very small percentage of the total energy used in the home, cooking energy can be used efficiently. Here are some tips to help you save energy when using your cooking product: l Use pans with flat bottoms, straight sides and tight-fitting lids. l Match the pan to the surface unit size. l Cook with a minimum of liquid or grease to help shorten cooking time. l Preheat pans only when recommended and for the shortest time possible.
2. Press the Cook Time pad. 3. Press the Increase pad until the desired baking/roasting time shows on the display. 4. Press the Bake pad. The last oven temperature to be set appears on the display. NOTE: If this step is not done, a tone will sound. 5. Press Increase or Decrease pad until the desired temperature shows on the display. 6. When the oven starts to heat, ON and the changing temperature (starting at 100°F) will be displayed. When the oven reaches the set temperature, a tone will sound.
To delay start automatically: and stop 1. Position the oven rack(s) properly and put food in the oven. 2. Press the Cook Time pad. I COOK TIME I 3. Press the Increase pad until the desired baking/roasting time shows on the display. (example for 3 hours) 4. Press the Stop Time pad. The time displayed will be the time of day plus the cook time. For example, if the current time of day is 2:00 and the cook time is three hours, the display will show 5:O0.
6. Press the Bake pad. The last oven temperature to be set appears on the display. NOTE: If this step is not done, a tone will sound. 7. Press Increase or Decrease pad until the desired temperature shows on the display. 8. At the set start time (4:00 in example above), the oven will turn on automatically. When the oven starts to heat, ON and the changing temperature (starting at 100°F) will be displayed. When the oven reaches the set temperature, a tone will sound.
To cancel the MEALTIMERN control setting: l Press Off/Cancel pad to return the display to the time of the day. To avoid sickness and food waste when using the MEALTIMER” control: @Do not let most UNFROZEN food stand for more than two hours before cooking starts. l Do not allow food to remain in oven for more than two hours after the end of cooking cycle. NOTE: Do not use foods that will spoil while waiting for cooking to start.
The storage drawer You can remove the storage drawer to make it easier to clean under the range. Use care when handling the drawer. Removing the storage drawer: 1. Empty drawer before removing. Pull drawer straight out to the first stop. Lift front and pull out to the second stop. 2. Lift back slightly and slide drawer all the way out. Replacing the storage drawer: 1. Fit ends of drawer slide rails into the drawer guides on both sides of opening. 2.
The anti-tip bracket The range will not tip during normal use. However, tipping can occur if you apply too much force or weight to the open door without the anti-tip bracket properly secured. Personal Injury Hazard .To reduce risk of range tipping over, secure range with a properly installed anti-tip bracket supplied with range. l If range is moved for cleaning or service, check that anti-tip device is engaged before using range. Failure to follow the above precautions could result in personal injury.
Using the Self-Cleaning Cycle The Self-Cleaning cycle saves you from the toil and mess that often come with hand-cleaning the oven interior. Like with the other functions of your oven, you operate the Self-Cleaning cycle with the easy-to-use electronic control. Please review the instructions in this section to keep your oven spotless. How the cycle works The Self-Cleaning cycle uses very high heat to burn away soil and grease.
l l l l Remove any pots and pans being stored in the oven. NOTE: You can clean the broiler pan and grid in the oven if you have first removed most of the soil by hand-cleaning or in a dishwasher. If most of the soil is not removed, too much smoking will occur. Wipe out any loose sol1 or grease. This will help reduce smoke during the cleaning cycle. l Remove the oven racks from the oven if you want them to remain shiny.
To delay the start of Self-Cleaning cycle: 1. Press the Clean pad. A 3-hour Self-Cleaning be set. cycle will automatically 2. If you want to set another cleaning time, press the Increase or Decrease pad until the desired cleaning time shows on the display. You can set the cleaning time anywhere between 2 and 4 hours. l l Use 2 hours for light soil. Use 3-4 hours for moderate to heavy soil. 3. Press the Stop Time pad. The time displayed will be the time of day plus the cleaning time.
When the oven locks: LOCK will be displayed and the door will be locked in position. You cannot open the oven door until the temperature drops below the lock temperature. When the Self-Cleaning is completed: cycle CLEAN goes out on the display and the oven will start cooling. When the oven baking/roasting reaches normal temperatures: LOCK goes oul on the display and the door can be opened. To stop the Self-Cleaning cycle at any time: l Press the Off/Cancel pad.
Caring for Your Range Your range is designed for easy care. You can do most cleaning with items found around your home. Cleaning your range whenever spills or soiling occurs will help to keep it looking and operating like new. Surface units and reflector Removing Burn and Electrical Shock Hazard Make sure all controls are off and the range is cool before cleaning. Failure to do so could result in burns or electrical shock. bowls / / 1.
Replacing 1. Make sure all control knobs are turned off and cool before replacing surface units and reflector bowls. 2. Line up openings in the reflector bowl with the surface unit receptacle. 3. Hold the surface unit as level as possible with the terminal just started into the receptacle. Push the surface unit terminal into the receptacle. 4. When the terminal is pushed into the receptacle as far as it will go, push down the edge of the surface unit opposite the receptacle.
Lift-up cooktop 1. Lift front of cooktop at both front corners until the support locks into place. Personal Injury Hazard Be sure support is extended and in the locked position. Failure to do so could result in personal injury from the cooktop accidentally fallina. Product Damage Hazard Do not drop the cooktop. Damage could result to the porcelain and the cooktop frame. 2. Wipe with warm, soapy water. Use a soapy steel-wool pad on heavily soiled areas. 3.
Cleaning chart Use the following table to help you clean all parts of your range. PART Control knobs HOW TO CLEAN WHAT TO USE Sponge and warm, soapy water . Turn knobs to OFF and pull straight away from control panel: l Wash, rinse and dry thoroughly. Do not soak. l l Control panel Exterior surfaces (other than control panel) Sponge and warm, soapy water OR Paper towel and spray glass cleaner Sponge and warm, soapy water l l l l l l Do not use steel wool or abrasive cleansers.
Porceiain*namei reflector bowls HOW TO CLEAN WHAT TO USE PART Uonabrasive, plastic scrubbing pad and warm, soapy water 3R The Self-Cleaning cycle . Wipe off excess spills. l Wash, rinse and dry thoroughly. . Wash, rinse and dry thoroughly. . Clean frequently. (Model RS385PXB) Nonabrasive, plastic scrubbing pad and warm, soapy water Broiler pan and grid (clean after Steel-wool pad and warm soapy water . Wash, rinse and dry thoroughly. (Model RS385PCB) Chrome reflector bowls OR .
The oven light To turn the light on, use the Oven Light Switch on the control panel. Electrical Shock and Personal injury Hazard l Make sure oven and light bulb are cool and power to the range has been turned off before replacing the light bulb. Failure to do so could result in electrical shock or bums. *The bulb cover must be in place when using the oven. The cover protects the bulb from breaking, and from high oven temperatures. Because bulb cover is made of glass, be careful not to drop it.
If You Need Assistance or Service This section is designed to help you save the cost of a service call. Part 1 of this section outlines possible problems, their causes, and actions you can take to solve each problem. Parts 2 and 3 tell you what to do if you still need assistance or service. When calling our Consumer Assistance Center for help or calling for service, please provide a detailed description of the problem, your appliance’s complete model and serial numbers arid the purchase date. (See page 2.
PROBLEM Cooking results are not what you expected The display shows “PF” “F-” shows on the display 36 SOLUTION POSSIBLE CAUSE Level range. (See Installation tions.) The range is not level. The oven temperature too low or too high. seems Instruc- Adjusting the oven temperature control. (See “Adjusting the oven temperature control” on page 15.) You have not preheated the oven as the recipe calls for. Preheat oven when called for in recipe.
2. If you need assistance ... Call Whirlpool Consumer Assistance Center telephone number. Dial toil-free from anywhere in the U.S.A. l-800-253-1 301 and talk with one of our trained consultants. The consultant can instruct you in how to obtain satisfactory operation from your appliance or, if service is necessary, recommend a qualified service company in your area. If you prefer, write to: Mr.
WHIRLPOOL” Electric Range Warranty mmi 0F wARRAm FULL ONE-YEAR WARRANTY From Date of Purchase LIMITED WARRANTY FOR LIFE OF THE PRODUCT I WHIRLPOOL WILL PAY FOR FSP@ replacement parts and repair labor to correct defects in materials or workmanship. Service must be provided by an authorized Whirlpool service company. FSP replacement parts for control knobs. Second Year Through Life of Product From Date of Purchase WHIRLPOOL WILL NOT PAY FOR A. Service calls to: 1.