
Installation guide
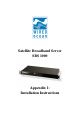


III. Setup – Step 1: Install the SBS
1. Mount the SBS in an environment suitable for electronic
equipment and with convenient access to uplink and downlink
cabling, power supply and connection to the computer(s). Ensure
that the fan is not obstructed and the unit is able to draw air
through the vents.
2. Connect the power supply and UPS (if fitted).
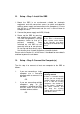
Warning
If the SBS is disconnected
from a power source before
it has correctly shut down
damage to the hard disk may
occur.
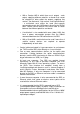
3. Power up the SBS by pressing
and releasing the power switch.
The SBS will perform a start-up
sequence similar to that of a
personal computer. Once
switched on, the SBS on will
generally take up to two minutes
to start up and occasionally up to
five minutes when it needs to perform a hard disk check.
Please refer to Section 2.1 of the Owner’s Handbook for more details
and how to power the unit down.
IV. Setup – Step 2: Connect the Computer(s)
The first step is to connect at least one computer to the SBS as
follows.
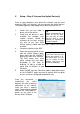
1. If you are connecting a single
computer use a crossover
ethernet cable to connect it to
the SBS.
Fitting the SBS into an
existing network
If there is a network already
set up, you can change the
network settings of the SBS
to fit in with the existing
computers. See Section 4.1
of the Owner’s Handbook.
We advise, however, that
you keep the existing
settings and use the SBS as
your DHCP server.
OR
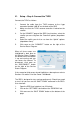
1. If you are connecting multiple
computers plug all the
computers, including the SBS,
into the switch or hub using
standard ethernet cables.
OR