
WorkCentre User Guide PE220

7Faxing
Xerox PE220 7-25
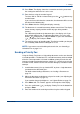
3. Press the scroll button ( or ) to display “Off” on the bottom line and
press Enter.
4. Enter the four-digit password and press Enter.
The mode is deactivated and the machine prints all faxes stored in
memory.
5. To return to Standby mode, press Stop/Clear.
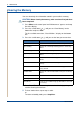
Printing Reports
Your machine can print reports the following reports:
Phonebook List
This list shows all of the numbers currently stored in the machine’s memory as
speed dial and group dial numbers.
NOTE: You can print this Phonebook list using the Phone Book button: see
Printing a Phonebook List on page 7-18.
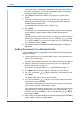
Sent Fax Report
This report shows information on the faxes you have recently sent.
Received Fax Report
This report shows information on the faxes you have recently received.
System Data List
This list shows the status of the user-selectable options.
NOTE: You may print this list to confirm your changes after changing any
settings.
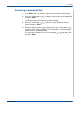
Scheduled Job Information
This list shows the document(s) currently stored for Delayed faxes. You may
print this list to check the delayed faxes and the starting times.
Message Confirmation
This report shows the fax number, the number of pages, the elapsed time of
the job, the communication mode, and the communication results for a
particular fax job.
You can set up your machine to automatically print a message confirmation
report after each fax job. See MSG Confirm on page 7-3.