
User Manual
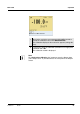
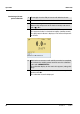
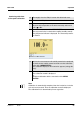

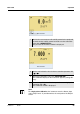
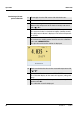
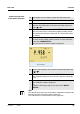
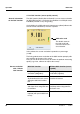
Table Of Contents
- 1 Overview
- 2 Safety
- 3 Commissioning
- 4 Operation
- 4.1 Switching on the meter
- 4.2 Login with a user name
- 4.3 General operating principles
- 4.4 Sensor-independent settings
- 4.5 Sensor info
- 4.6 Channel display
- 4.7 pH value
- 4.7.1 General information
- 4.7.2 Measuring the pH value
- 4.7.3 Settings for pH measurements
- 4.7.4 pH calibration
- 4.7.5 Calibration interval
- 4.7.6 Carrying out an automatic calibration (AutoCal)
- 4.7.7 Carrying out a manual calibration (ConCal)
- 4.7.8 Displaying calibration records
- 4.7.9 Continuous measurement control (CMC function)
- 4.7.10 QSC function (sensor quality control)
- 4.8 ORP voltage
- 4.9 Dissolved oxygen
- 4.10 Conductivity
- 4.11 Data storage
- 4.12 Transmitting data (USB interfaces)
- 4.12.1 Outputting current measurement data
- 4.12.2 Transmitting data (to a PC)
- 4.12.3 Connecting the PC / USB-B interface (USB Device)
- 4.12.4 Options for data transmission to a PC (USB-B interface)
- 4.12.5 Connecting the USB memory device / USB-A interface (USB Host)
- 4.12.6 Data transmission to a USB memory device (USB-A interface)
- 4.13 Reset
- 5 Maintenance, cleaning, disposal
- 6 What to do if...
- 7 Technical data
- 8 Lists
- 9 Appendix: Firmware update
Operation Multi 3430
52
ba75865e11 02/2011
Continuing with two-
point calibration
9 Thoroughly rinse the IDS pH sensor with deionized water.
10 Immerse the IDS pH sensor in buffer solution 2.
11 When measuring without temperature sensor:
Measure the temperature of the buffer manually and enter it
with <S><T>.
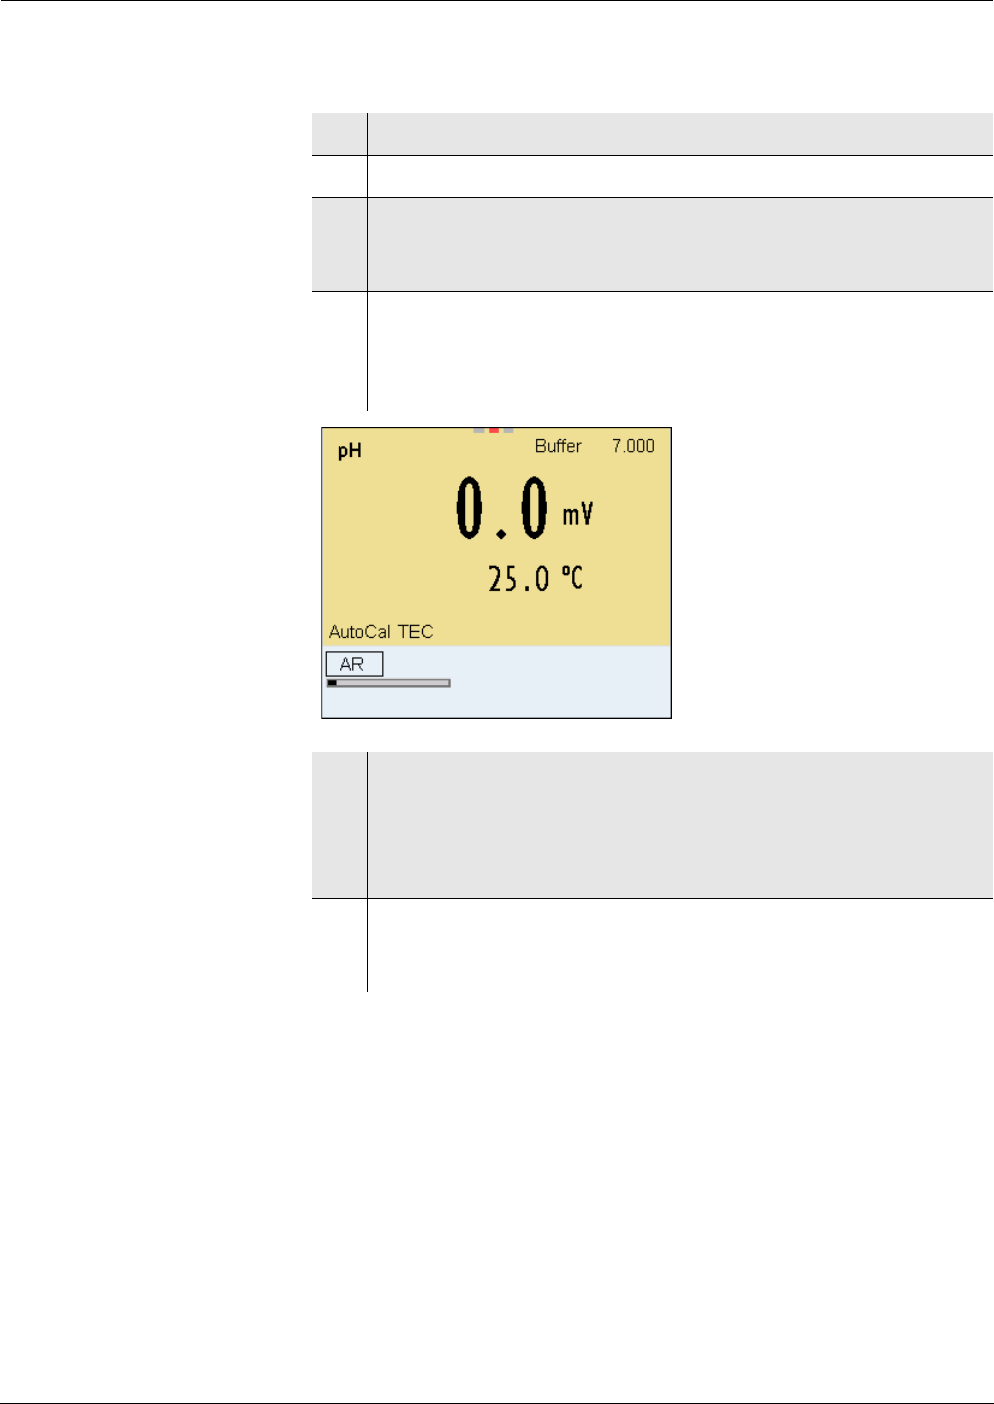
12 Start the measurement with <MENU/ENTER>.
The measured value is checked for stability (stability control).
The [AR] status indicator is displayed. The measured parame-
ter flashes.
13 Wait for the measurement with stability control to be completed
or terminate the stability control and take over the calibration
value with <MENU/ENTER>.
The calibration display for the next buffer appears (voltage dis-
play).
14 If necessary, finish the calibration procedure as a two-point cal-
ibration with <M>.
The calibration record is displayed.
30.09.2009 08:00