
User Manual
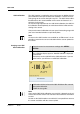

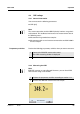
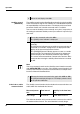
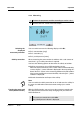
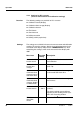
Table Of Contents
- 1 Overview
- 2 Safety
- 3 Commissioning
- 4 Operation
- 4.1 Switching on the meter
- 4.2 Login with a user name
- 4.3 General operating principles
- 4.4 Sensor-independent settings
- 4.5 Sensor info
- 4.6 Channel display
- 4.7 pH value
- 4.7.1 General information
- 4.7.2 Measuring the pH value
- 4.7.3 Settings for pH measurements
- 4.7.4 pH calibration
- 4.7.5 Calibration interval
- 4.7.6 Carrying out an automatic calibration (AutoCal)
- 4.7.7 Carrying out a manual calibration (ConCal)
- 4.7.8 Displaying calibration records
- 4.7.9 Continuous measurement control (CMC function)
- 4.7.10 QSC function (sensor quality control)
- 4.8 ORP voltage
- 4.9 Dissolved oxygen
- 4.10 Conductivity
- 4.11 Data storage
- 4.12 Transmitting data (USB interfaces)
- 4.12.1 Outputting current measurement data
- 4.12.2 Transmitting data (to a PC)
- 4.12.3 Connecting the PC / USB-B interface (USB Device)
- 4.12.4 Options for data transmission to a PC (USB-B interface)
- 4.12.5 Connecting the USB memory device / USB-A interface (USB Host)
- 4.12.6 Data transmission to a USB memory device (USB-A interface)
- 4.13 Reset
- 5 Maintenance, cleaning, disposal
- 6 What to do if...
- 7 Technical data
- 8 Lists
- 9 Appendix: Firmware update
Operation Multi 3430
62
ba75865e11 02/2011
The QSC initial calibration is completed. The sensor is calibrated. If you
want to calibrate with special buffers for your measurements, you can
subsequently carry out a normal calibration with your buffers. The ref-
erence values determined with the QSC calibration are also used for
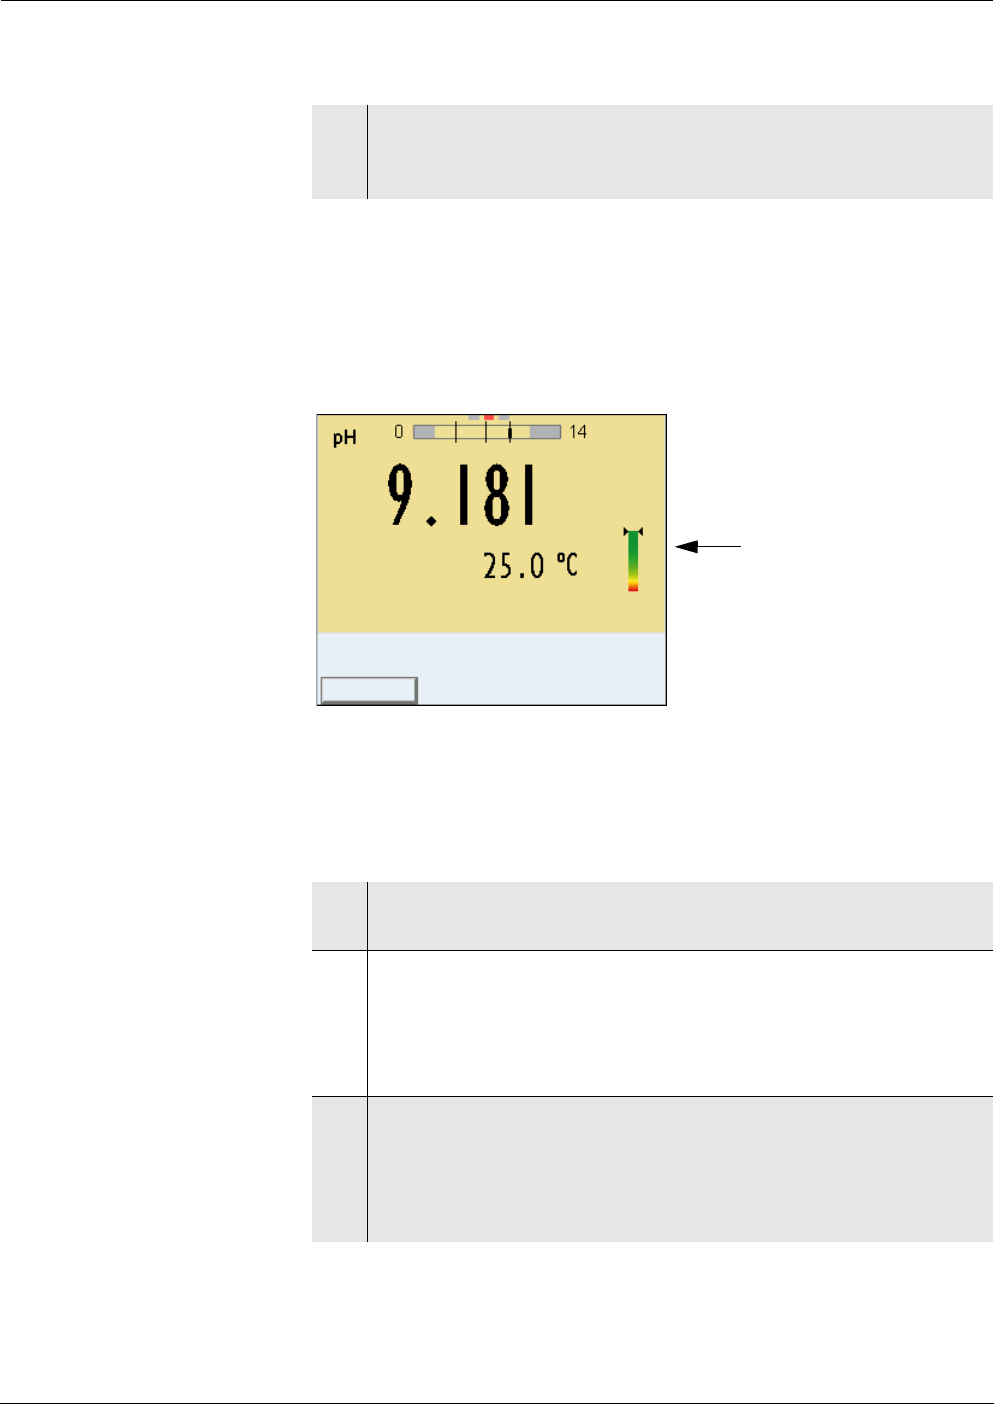
the evaluation of normal calibrations. In the measured value display,
the color scale of the QSC function is always displayed. A double arrow
on the color scale indicates the current sensor evaluation.
You can carry out QSC control calibrations at greater intervals than
normal calibrations.
A QSC control calibration can, e.g. be useful if the sensor evaluation
noticeably changed (after some normal calibrations).
Carrying out a QSC
control calibration
4 As soon as the three-point calibration has been successfully
carried out you can decide whether to accept or discard the cal-
ibration as the QSC initial calibration.
22.09.2009 08:00Info
QSC color scale
The double arrow on
the color scale indi-
cates the current sen-
sor evaluation.
1 Open the menu for measurement settings with <MENU/
ENTER>.
2In the QSC menu, select Control calibration with <S><T>.
The calibration display appears. AutoCal QSC-Kit is displayed
as the buffer.
Exclusively use the QSC-Kit for the QSC calibration. If you use
other buffers, you will have no valid QSC control calibration.
3 Follow the user guide.
The calibration is carried out like a normal three-point calibra-
tion. As soon as the three-point calibration has been success-
fully carried out you can decide whether to accept or discard the
calibration as the QSC control calibration.