
Owner's manual


Table Of Contents
- 1 Overview
- 2 Safety instructions
- 3 Commissioning
- 4 Operation
- 4.1 Switching on or off the photometer
- 4.2 General operating principles
- 4.3 Photometer settings and system administration
- 4.4 Zero adjustment
- 4.5 Measuring in Concentration mode
- 4.5.1 Measuring cell tests with barcode
- 4.5.2 Measuring reagent tests with AutoSelector
- 4.5.3 Measuring reagent-free tests and user-defined methods
- 4.5.4 Exceeding the upper or lower limits of the measuring range
- 4.5.5 Selecting a method manually
- 4.5.6 Settings for Concentration mode
- 4.5.7 Measuring diluted samples
- 4.5.8 Sample blank value
- 4.5.9 Reagent blank value
- 4.5.10 Automatic Turbidity correction
- 4.5.11 Programming / modifying user-defined methods
- 4.5.12 The IQ LabLink procedure
- 4.6 Measuring the Absorbance / % Transmission
- 4.7 Multi wavelengths methods
- 4.8 Spectrum
- 4.9 Kinetics
- 4.10 Timer
- 4.11 Memory
- 4.11.1 Overview
- 4.11.2 Instructions on using USB memory devices
- 4.11.3 Measurement datasets
- 4.11.4 Saving measurement datasets manually
- 4.11.5 Saving measurement datasets automatically
- 4.11.6 Displaying measurement data memory
- 4.11.7 Filtering measurement datasets
- 4.11.8 Inverting filters
- 4.11.9 Erasing stored measurement datasets
- 4.12 Copying files
- 4.13 Transmitting data
- 4.14 Analytical quality assurance (AQA)
- 4.15 User management
- 4.16 Reset
- 4.17 Photometer information ([Info])
- 4.18 Lamp counter
- 4.19 Software and methods update
- 5 Maintenance and cleaning
- 6 What to do if ...
- 7 Technical data
- 8 Accessories and options
- Appendix
photoLab
®
6100 VIS Operation
101
ba75847e01 08/2009
1 Select the required method in the
Concentration
mode.
Manual selection of the method
(see section 4.5.5).
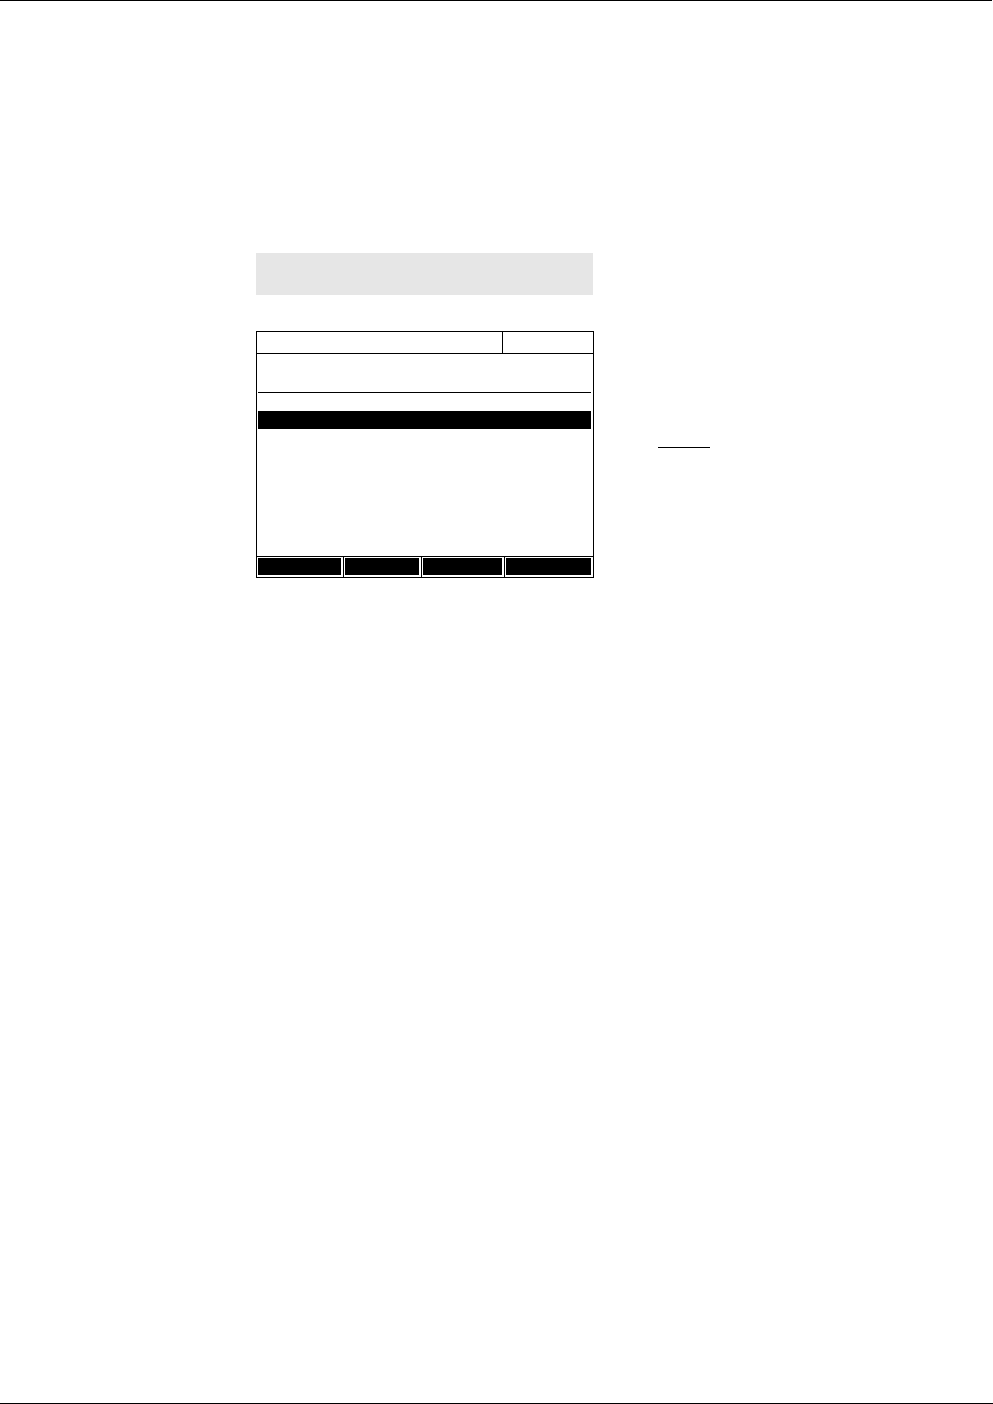
2 Open the Timer menu.
The Timer menu is open.
3 If necessary, add a new timer to
the list with [Add].
Note:
The [Add] function key is only
displayed if a method is selected
for which analysis timers were
programmed but are not yet
displayed in the list of timers.
4 Highlight an analysis timer.
5 If necessary, remove the analysis
timer from the list with [Remove].
6 Start the highlighted timer with
[Start].
The status of the timer is Active.
When the specified time interval
has expired, an acoustic signal
sounds and the status changes to
Expired.
7 Stop the highlighted timer with
[Stop].
The status of the timer changes to
Inactive. The acoustic signal is
switched off.
<TIMER>
Timer
04/16/07 9:52
Designation Time Status
User defined timer 00:15:00 Inactiv
A6/25 - 1 00:15:00 Inactiv
Start Stop Remove Add