
Owner's manual


Table Of Contents
- 1 Overview
- 2 Safety instructions
- 3 Commissioning
- 4 Operation
- 4.1 Switching on or off the photometer
- 4.2 General operating principles
- 4.3 Photometer settings and system administration
- 4.4 Zero adjustment
- 4.5 Measuring in Concentration mode
- 4.5.1 Measuring cell tests with barcode
- 4.5.2 Measuring reagent tests with AutoSelector
- 4.5.3 Measuring reagent-free tests and user-defined methods
- 4.5.4 Exceeding the upper or lower limits of the measuring range
- 4.5.5 Selecting a method manually
- 4.5.6 Settings for Concentration mode
- 4.5.7 Measuring diluted samples
- 4.5.8 Sample blank value
- 4.5.9 Reagent blank value
- 4.5.10 Automatic Turbidity correction
- 4.5.11 Programming / modifying user-defined methods
- 4.5.12 The IQ LabLink procedure
- 4.6 Measuring the Absorbance / % Transmission
- 4.7 Multi wavelengths methods
- 4.8 Spectrum
- 4.9 Kinetics
- 4.10 Timer
- 4.11 Memory
- 4.11.1 Overview
- 4.11.2 Instructions on using USB memory devices
- 4.11.3 Measurement datasets
- 4.11.4 Saving measurement datasets manually
- 4.11.5 Saving measurement datasets automatically
- 4.11.6 Displaying measurement data memory
- 4.11.7 Filtering measurement datasets
- 4.11.8 Inverting filters
- 4.11.9 Erasing stored measurement datasets
- 4.12 Copying files
- 4.13 Transmitting data
- 4.14 Analytical quality assurance (AQA)
- 4.15 User management
- 4.16 Reset
- 4.17 Photometer information ([Info])
- 4.18 Lamp counter
- 4.19 Software and methods update
- 5 Maintenance and cleaning
- 6 What to do if ...
- 7 Technical data
- 8 Accessories and options
- Appendix
Operation photoLab
®
6100 VIS
124
ba75847e01 08/2009
Carrying out the
AQA1 check
(example:
PhotoCheck)
The AQA1 check comprises the check with all test standards activated in the
menu, AQA menu / AQA1 setup / Configuration of tests ... for AQA1 (see
page 123).
First, a zero adjustment for all wavelengths takes place.
Subsequently, the first individual checks with the selected test standards take
place (e.g. PhotoCheck).
Example,
PhotoCheck:
5 Using <▲><▼> and <W><X>,
select the Lot number, Target
value or Tolerance entries and
open them for editing with
<START·ENTER>
.
6 Enter and confirm the required
value (<0...9>)
7 Accept all values with [Apply].
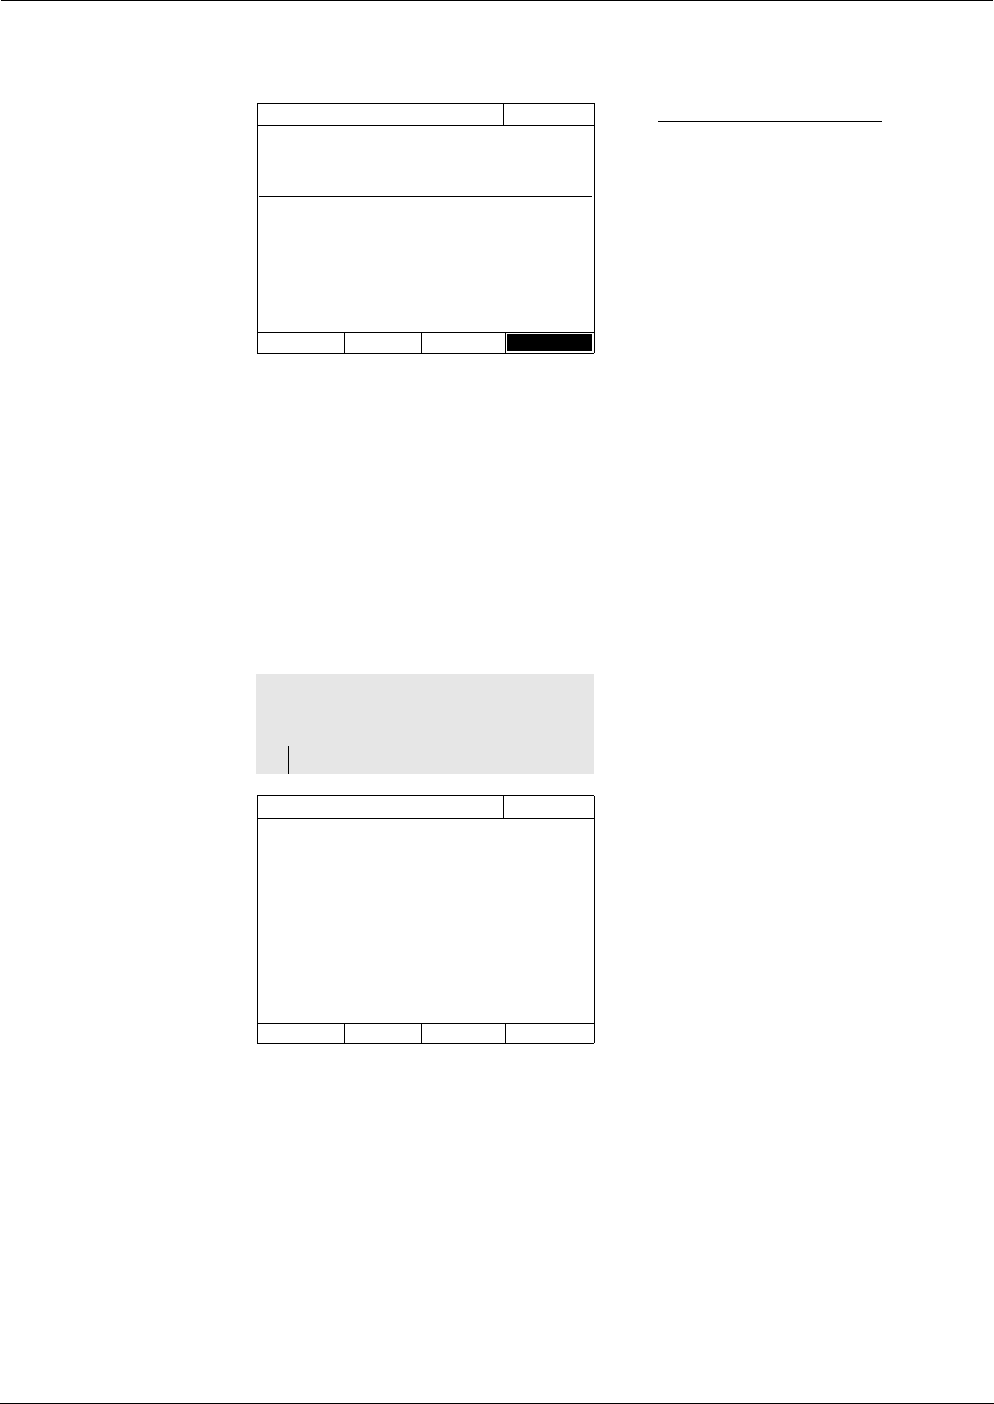
PhotoCheck
04/16/07 9:52
Lot number: HC616115
Use by 16.04.2008
Target value Tolerance
445/1 0.196 ± 0.020
445/2 0.500 ± 0.030
445/3 0.998 ± 0.040
445/4 1.508 ± 0.050
525/1 0.197 ± 0.020
525/2 0.495 ± 0.030
525/3 0.992 ± 0.040
525/4 1.496 ± 0.050
Apply
The photometer is ready for the
zero adjustment.
1 Insert the zero cell.
The cell is automatically
recognized and the zero
adjustment is started for all
wavelengths.
After the successful zero
adjustment, the photometer is
ready to measure the PhotoCheck
test standard
445/1.
<HOME>
[AQA]
– AQA1 check
PhotoCheck
04/16/07 9:52
Reference measurement
Please insert zero cell (distilled water).