
Owner's manual


Table Of Contents
- 1 Overview
- 2 Safety instructions
- 3 Commissioning
- 4 Operation
- 4.1 Switching on or off the photometer
- 4.2 General operating principles
- 4.3 Photometer settings and system administration
- 4.4 Zero adjustment
- 4.5 Measuring in Concentration mode
- 4.5.1 Measuring cell tests with barcode
- 4.5.2 Measuring reagent tests with AutoSelector
- 4.5.3 Measuring reagent-free tests and user-defined methods
- 4.5.4 Exceeding the upper or lower limits of the measuring range
- 4.5.5 Selecting a method manually
- 4.5.6 Settings for Concentration mode
- 4.5.7 Measuring diluted samples
- 4.5.8 Sample blank value
- 4.5.9 Reagent blank value
- 4.5.10 Automatic Turbidity correction
- 4.5.11 Programming / modifying user-defined methods
- 4.5.12 The IQ LabLink procedure
- 4.6 Measuring the Absorbance / % Transmission
- 4.7 Multi wavelengths methods
- 4.8 Spectrum
- 4.9 Kinetics
- 4.10 Timer
- 4.11 Memory
- 4.11.1 Overview
- 4.11.2 Instructions on using USB memory devices
- 4.11.3 Measurement datasets
- 4.11.4 Saving measurement datasets manually
- 4.11.5 Saving measurement datasets automatically
- 4.11.6 Displaying measurement data memory
- 4.11.7 Filtering measurement datasets
- 4.11.8 Inverting filters
- 4.11.9 Erasing stored measurement datasets
- 4.12 Copying files
- 4.13 Transmitting data
- 4.14 Analytical quality assurance (AQA)
- 4.15 User management
- 4.16 Reset
- 4.17 Photometer information ([Info])
- 4.18 Lamp counter
- 4.19 Software and methods update
- 5 Maintenance and cleaning
- 6 What to do if ...
- 7 Technical data
- 8 Accessories and options
- Appendix
Operation photoLab
®
6100 VIS
132
ba75847e01 08/2009
Carrying out the
MatrixCheck
Note
The following description shows the proceeding for the MatrixCheck by
spiking. To switch to the MatrixCheck by dilution, use the [Dilute] function
key. The proceeding is similar there, but the entry of the Standard ID and
Standard concentration is not applicable.
1 Enter and confirm a numerical
value.
The setting is active.
2 Exit the menu with <ESC>.
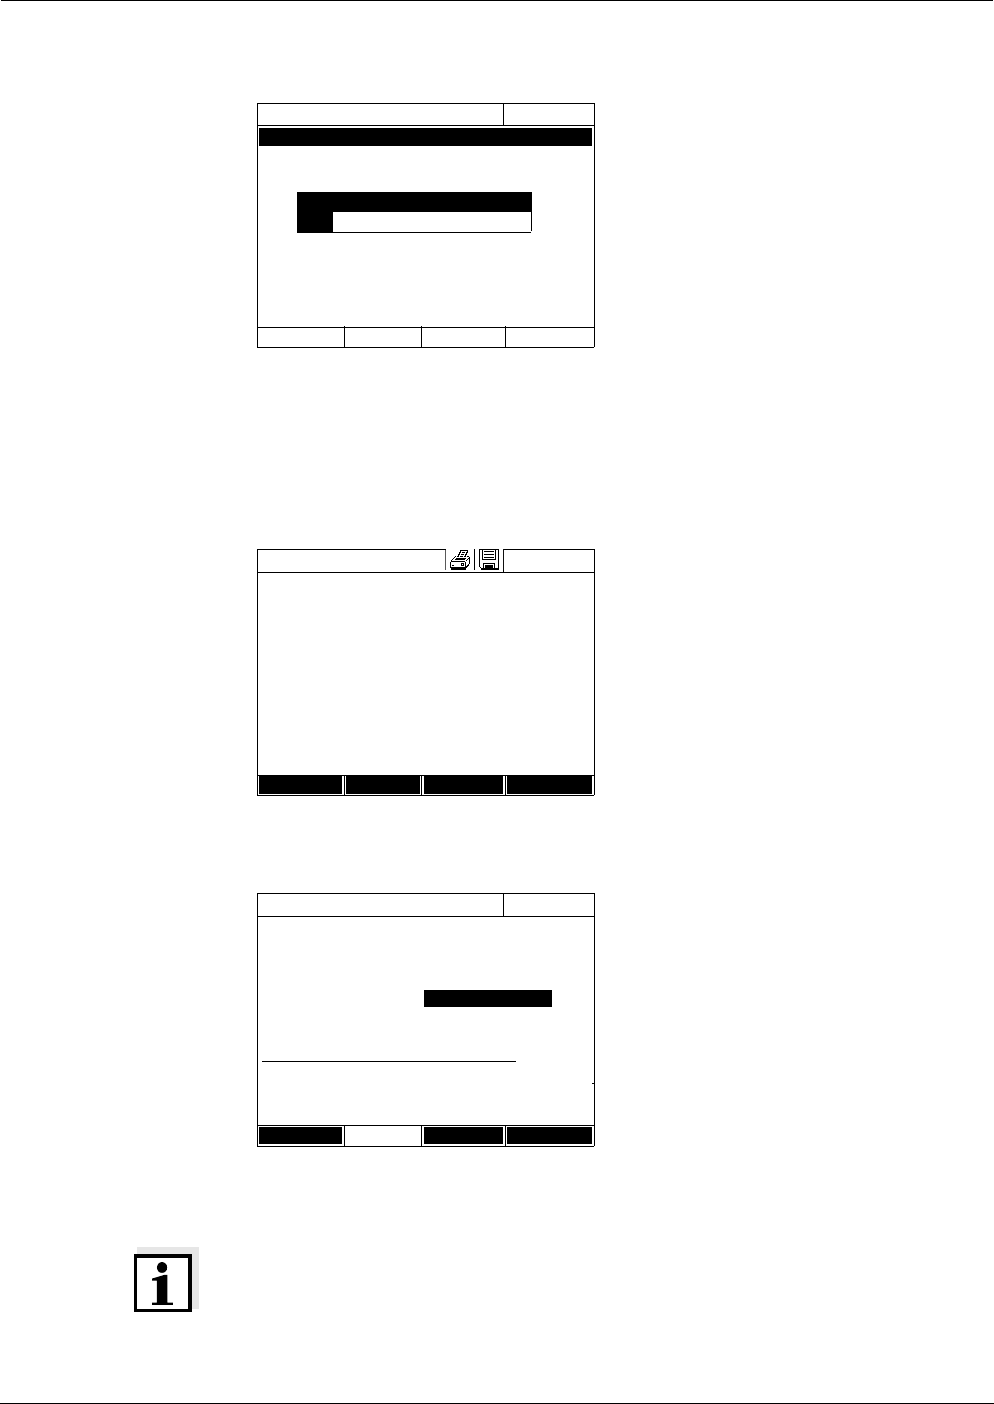
AQA3/MatrixCheck setup
04/16/07 9:52
Maximum difference 10%
Maximum difference
10.0
%
1 Measure the original sample
without spiking or diluting it (see
section 4.5.1 to 4.5.3).
2 The measured value is displayed.
3 Open the setting menu with
[Setup].
4 Select and confirm AQA.
5 If necessary, check the settings in
the menu, AQA3/MatrixCheck
setup.
6 Select and confirm AQA3/
MatrixCheck.
The display for the MatrixCheck
opens up.
If the spiking with the standard
values of the CombiCheck R-2
suggested by the photometer
would cause the measuring range
to be exceeded, the MatrixCheck
by diluting is automatically
suggested.
Concentration
04/16/07 9:52
45
mg/l
18: C3/25
COD
16 mm
10 - 150 mg/l
Setup
Method list
Citation form Unit
MatrixCheck (Spike)
04/16/07 9:52
Method 1: C3/25
Sample concentration 45 mg/lCOD
Standard ID 0
Standard concentration 0 mg/lCOD
Sample Standard Target value
[ml] [ml] [mg/l]
10 0 45
10 0 45
10 0 45
Dilute Delete Next