U DVD / VIDEO CD / CD PLAYER DVD-S540 OWNER’S MANUAL STANDBY /ON
CAUTION RISK OF ELECTRIC SHOCK DO NOT OPEN CAUTION: TO REDUCE THE RISK OF ELECTRIC SHOCK, DO NOT REMOVE COVER (OR BACK). NO USER-SERVICEABLE PARTS INSIDE. REFER SERVICING TO QUALIFIED SERVICE PERSONNEL. This symbol warns the user that uninsulated voltage within the unit may have sufficient magnitude to cause electric shock. Therefore, it is dangerous to make any kind of contact with any inside part of this unit.
FCC INFORMATION (for US customers only) 1. IMPORTANT NOTICE: DO NOT MODIFY THIS UNIT! This product, when installed as indicated in the instructions contained in this manual, meets FCC requirements. Modifications not expressly approved by Yamaha may void your authority, granted by the FCC, to use the product. 2. IMPORTANT: When connecting this product to accessories and/or another product use only high quality shielded cables. Cable/s supplied with this product MUST be used.
CAUTION: READ THIS BEFORE OPERATING YOUR UNIT. 1 To assure the finest performance, please read 2 3 4 5 6 7 8 9 10 11 12 13 this manual carefully. Keep it in a safe place for future reference. Install this unit in a well ventilated, cool, dry, clean place — away from direct sunlight, heat sources, vibration, dust, moisture, or cold. In a cabinet, allow about 2.5cm (1 inch) of free space all around this unit for adequate ventilation.
Contents Introduction Picture CD & MP3 Playback Environmental Information ......................................2 Supplied accessories ..................................................2 Notes about discs ......................................................2 Cleaning discs..........................................................................2 Symbols Used in this Manual ...................................2 General Operation.................................................. 12 MP3 & JPEG Navigator..
Introduction Thank you for purchasing this unit. This Owner’s Manual explains the basic operation of this unit. The region code is 1 for U.S.A and Canada models. 1 Since it is usual for DVD movies to be released at different times in different regions of the world, all players have region codes and discs can have an optional region code. This unit can play discs containing the identical region code, or mentioned as region “ALL”.
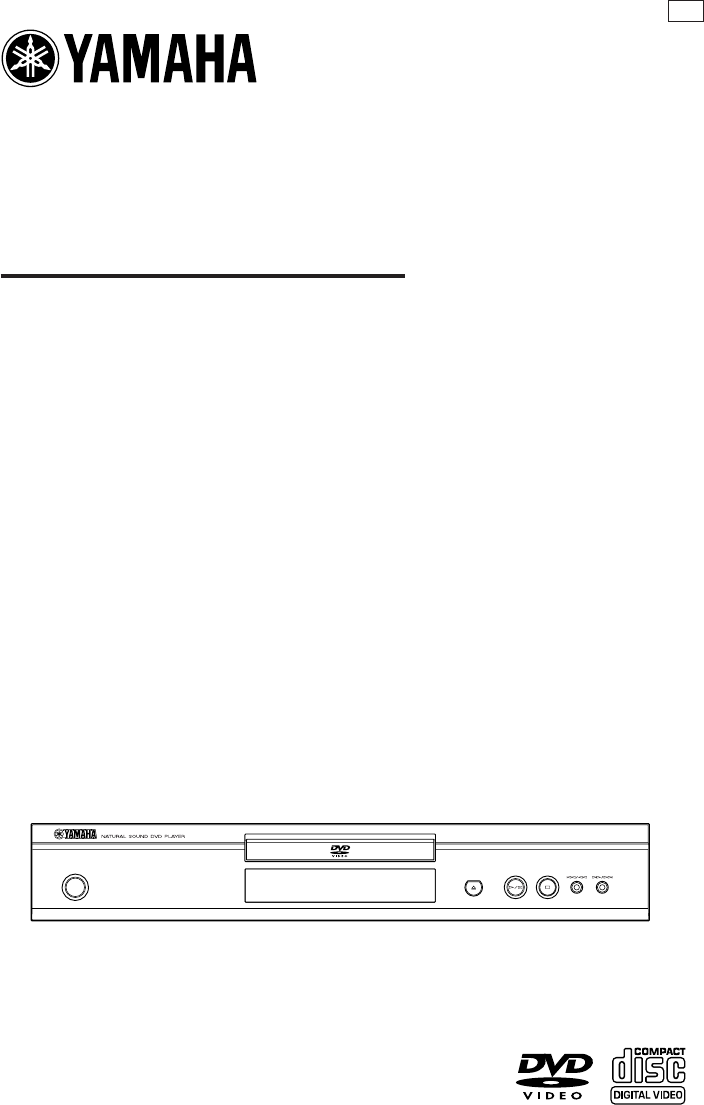
Functional Overview Front and Rear Panels STANDBY/ON – to turn this unit to standby mode or ON Disc Tray / OPEN/CLOSE – to open/close the disc tray R/T – search forward* / go to the next chapter or track S/Q – search backward* / go to a previous chapter or track 9 STOP – to stop playback B/ ; PLAY/PAUSE – to star t/interrupt playback STANDBY /ON * Press button for about two seconds.
Functional Overview Remote Control TOP MENU/RETURN – display the top-level disc menu (DVD) / go back to previous menu (VCD) MENU – access menu of a disc (DVD) / switch PBC on/off (VCD) B/ | – turn this unit ON or go to standby-on mode 1 2 3 4 5 6 7 8 9 TOP MENU RETURN MENU 1 2 3 4 – (left/right/up/down) select an item in the menu ENTER/OK – acknowledge menu selection ON SCREEN 0 SETUP ON SCREEN – access or remove player’s On Screen Display menu ENTER OK STOP PLAY PAUSE SUBTITLE ANGLE Z
Preparation General Notes on connections Never make or change connections with the power switched on. ● Depending on the equipment you wish to connect, there are various ways you could connect this unit. Possible connections are shown in the following drawings. ● Please refer to the manuals of other equipment as necessary to make the best connections. ● Do not connect this unit via your VCR. The video quality could be distorted by the copy protection system.
Preparation Video Connections S-Video terminal If your AV receiver has video output jacks, connect your receiver (and then to your TV) so that you can use one TV for several different video sources (LD, VCR etc.) by simply switching the input source selector of your receiver. The player has three types of video output jacks. Use one of them in accordance with the input jacks of the equipment to be connected.
Preparation Inserting batteries into the Remote Control 1 2 3 NTSC/PAL Conversion This player is equipped with a NTSC/PAL conversion feature to convert the video output of the disc to match your TV system. The conversions supported are as below. To activate the conversion, refer to “TV Type”: Open the battery cover by pressing in the tab, then lift off the cover. Insert batteries with the correct polarity as indicated by the + and - symbols inside the battery compartment. Close the cover.
Operation Basic Playback 1 2 3 4 Press STANDBY/ON on the front panel to turn on the DVD player. Press / (OPEN/CLOSE) on the front panel to open disc loading tray. Place the chosen disc in the tray, with the label facing up. Press / (OPEN/CLOSE) again to close the tray. ➜ After recognizing this disc, the player begin to playback automatically. 3 To go directly to any chapter/track, enter the chapter/track number using the numeric buttons and press ENTER/OK.
Operation ➜ Mono Right: Output the right audio channels of the disc through the left and right audio jacks. ➜ MIX-Mono: each of the audio jacks can output the same audio effect as stereo.
Operation Zoom DVD VCD SVCD 1 2 The Zoom function allows you to change the image size. Press ZOOM to activate the function. ➜ Use 341 2 to view other parts of the zoomed picture. ➜ Playback will continue. Press ZOOM repeatedly to return to the original size. Special DVD Features Changing the Audio Language and/or format DVD ● Press AUDIO repeatedly to select the different languages. Note: The function will be activated only if the DVD is recorded with multi-language audio tracks.
Operation Preview Function 2 ● Press SCAN to enter previewing menu. ● Press 34 to highlight Track Digest, Disc Interval or Track Interval. ● Press ENTER/OK to open one option. ● After you enter the menu of any digest type, ➜ To quit preview function: Press 341 2 to highlight EXIT and press ENTER/OK. ➜ To return to the previewing menu for selecting the other digest type: Press 341 2 to highlight MENU and press ENTER/OK. Note: You can select Track Interval only during playback, with PBC Off.