
User Manual

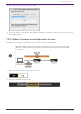
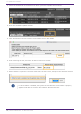
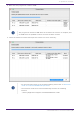
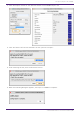
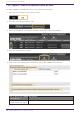
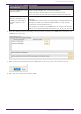
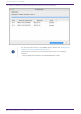
Table Of Contents
- Yamaha LAN Monitor for Mac
- Table of contents
- 1. Introduction
- 2. Installing and uninstalling Yamaha LAN Monitor
- 3. Starting and exiting Yamaha LAN Monitor
- 4. Yamaha LAN Monitor screen structure
- 5. Network settings on the computer
- 6. Basic operation
- 7. Menu bar
- 8. Toolbar and display area
- 9. Map screen
- 10. List screen
- 11. Configuring the device
- 12. Update the firmware
- 13. Import/Export the CONFIG
- 14. Resources
- 15. Troubleshooting
-

13.2. Import CONFIG on multiple units at once
To import CONFIG on multiple units all at once, follow the steps below.
1. Press the “List” button to open the List screen.
2. Press the “Config Import/Export” tab.
3. Check the checkboxes of the devices for which you want to import the CONFIG.
4. Press the “Config import” button.
5. Select one of the following three methods to specify the CONFIG to be imported.
How to specify the CONFIG
to be imported
Descriptions
Specify the CONFIG file to
be imported to each agent
Selects individual CONFIG files to import.
13. Import/Export the CONFIG
58 | Yamaha LAN Monitor for Mac User Guide