
User guide


Table Of Contents
- Part1
- Part2
- Part2
- Part3
- Part4
- Part5
- Dynamic Link Aggregation
- Link Aggregation ID
- RADIUS
- Configuring RADIUS Server Settings
- Configuring IEEE802.1x
- Supported MIBs
- SNMP Traps
- Configuring SNMP
- Setting Up Login Accounts
- Requirements for Using SSH
- HTTPS Example
- Internet Explorer Warning Messages
- Netscape Navigator Warning Messages
- Login Screen
- Strict Priority Queuing (SPQ)
- Weighted Round Robin Scheduling (WRR)
- DiffServ
- DSCP and Per-Hop Behavior
- DHCP “Relay Agent Information Option”
- DHCP Relay Agent Circuit ID Sub-option Format
- Part6
- Part7
- Switch Configuration File
- Access Priority
- The Console Port
- Telnet
- List of Available Commands
- Detailed Command Information
- Logging Out
- User Mode
- Enable Mode
- Configure Mode
- config-vlan Commands
- interface Commands
- show system-information
- show hardware-monitor
- show ip
- show logging
- show interface
- show mac address-table
- Backing up Configuration
- Restoring Configuration
- Using a Different Configuration File
- Resetting to the Factory Default
- no mirror-port
- no https timeout
- no trunk
- no port-access-authenticator
- no ssh
- interface
- bpdu-control
- broadcast-limit
- bandwidth-limit
- mirror
- gvrp
- ingress-check
- frame-type
- vlan-trunking
- spq
- wrr
- egress set
- qos priority
- name
- speed-duplex
- Static Entries (SVLAN Table)
- Dynamic Entries (DVLAN Table)
- GARP Status
- GARP Timer
- GVRP Timer
- Enable GVRP
- Disable GVRP
- Set Port VID
- Set Acceptable Frame Type
- Enable or Disable Port GVRP
- Modify Static VLAN
- Delete VLAN ID
Dimension GS-3012 Gigabit Ethernet Switch
Maintenance 23-3
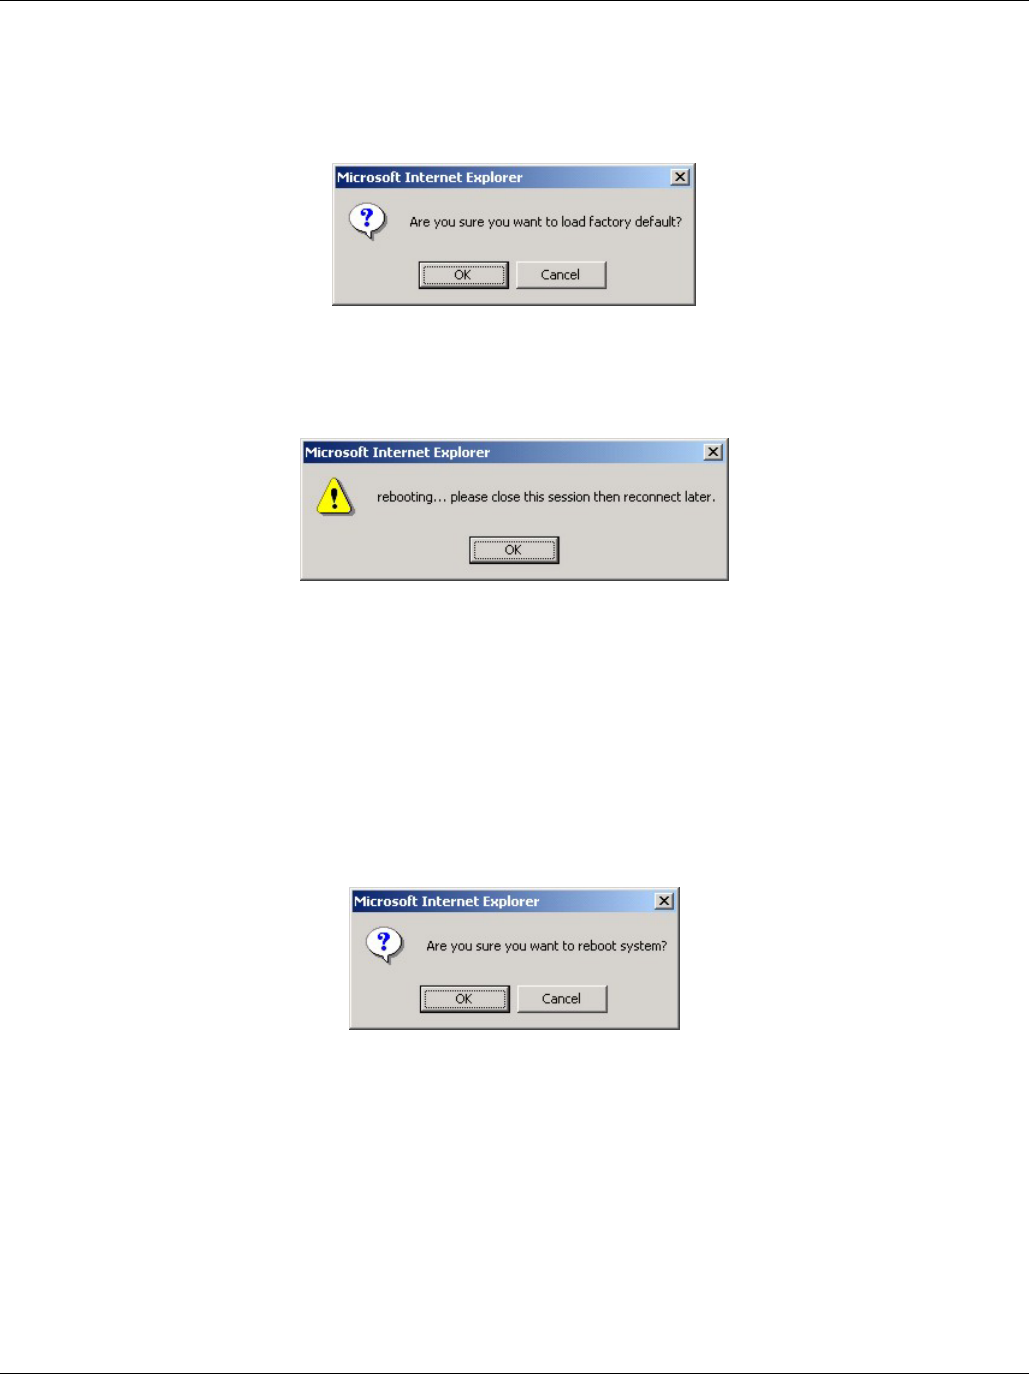
23.5 Load Factory Defaults
Press the Click Here button next to Load Factory Defaults to clear all switch configuration information you
configured and return to the factory defaults. The following message appears.
Figure 23-5 Confirm Load factory Defaults
Click OK to go to the next screen.
Figure 23-6 Restart Switch After Load Factory Defaults
Click OK to begin resetting all switch configurations to the factory defaults and then wait for the switch to restart.
This takes up to two minutes. If you want to access the switch web configurator again, you may need to change the
IP address of your computer to be in the same subnet as that of the default switch IP address (192.168.1.1).
23.6 Reboot System
Reboot System allows you to restart the switch without physically turning the power off. Press the Click Here
button next to Reboot System to display the next screen.
Figure 23-7 Confirm Restart The Switch
Click OK to see the screen as shown in Figure 23-6. Click OK again and then wait for the switch to restart. This
takes up to two minutes. This does not affect the switch’s configuration.
23.7 Command Line FTP
This section shows some examples of uploading to or downloading files from the switch using FTP commands.
First, understand the filename conventions.